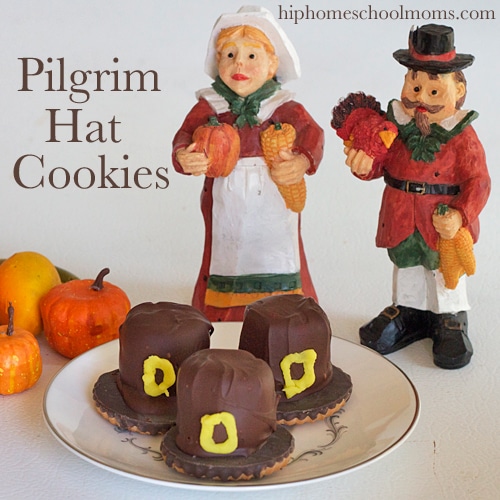
Pilgrim Hat Cookies
These cute Pilgrim Hat Cookies are a kid-friendly addition to any Thanksgiving celebration. Not only fun to eat, they are also easy for kids to make! Bonus: everyone’s fingers get chocolatey. Yum!
My son and I first made these cookies for our friends at Build A Menu. At the time he was six, and he had no trouble making them, though his hands – good grief! One good thing about being covered in chocolate is that even though you look dirty, you smell sweet! and believe me, he smelled awesome!
So you have been warned, if you are making these cookies with little ones, there is melted chocolate involved, and it will go everywhere. Well worth it we think!
Ingredients
• 24 chocolate-striped shortbread cookies
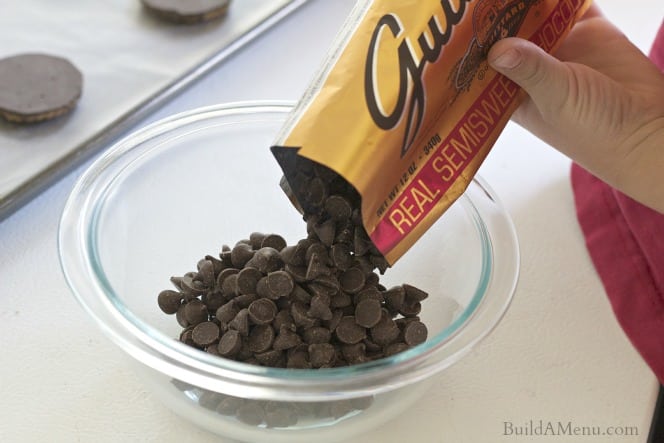
• 12 ounces chocolate chips
• 24 regular-sized marshmallows
• small tube of yellow frosting, or white frosting mixed with yellow food coloring
Directions
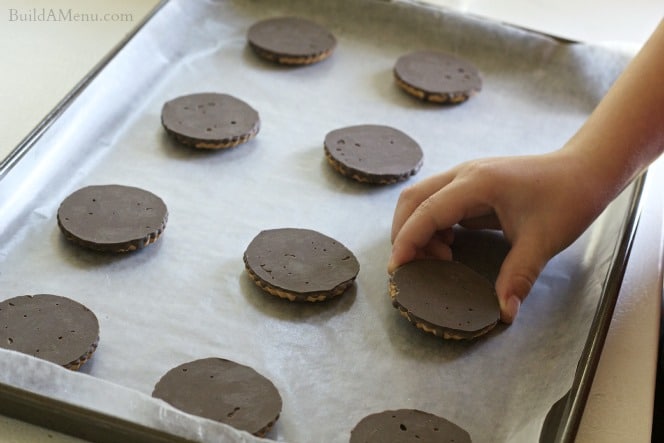
Lay the cookies, chocolate side up, on a cookie sheet lined with wax paper or parchment paper.
Melt chocolate chips in the microwave or in a double boiler. For the microwave, try using 50% power for 2 minutes then stirring, then heating for 30 seconds at 50% power and stirring again.
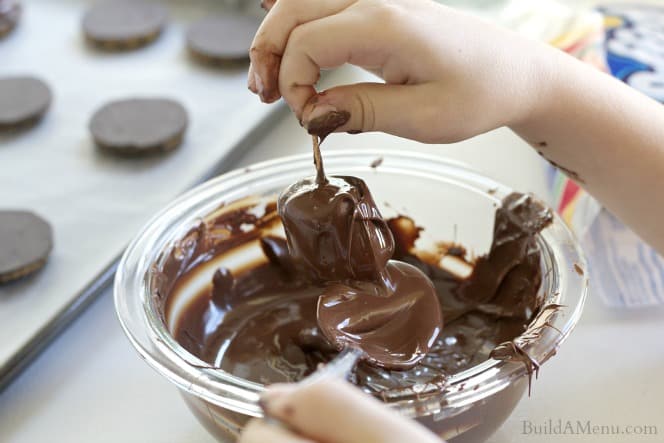
Stick a toothpick into the center of a marshmallow and dip the marshmallow into the melted chocolate. Here’s where the chocolatey fingers start.
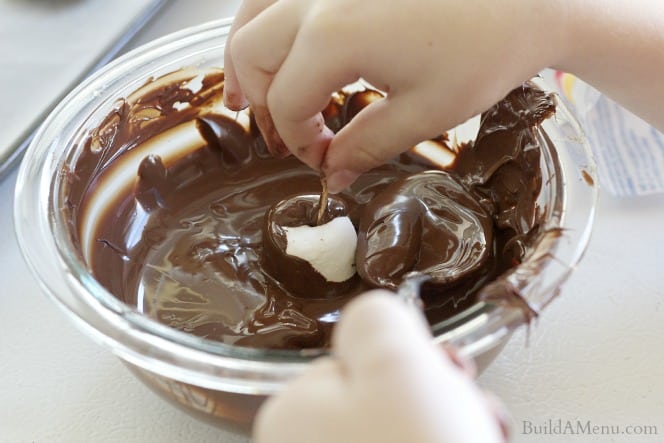
Use a spoon or knife to remove excess chocolate.
With the chocolate facing up, stick the toothpick through the center of a cookie. Pull the toothpick all the way through and out, leaving the chocolate marshmallow on the center of the cookie.
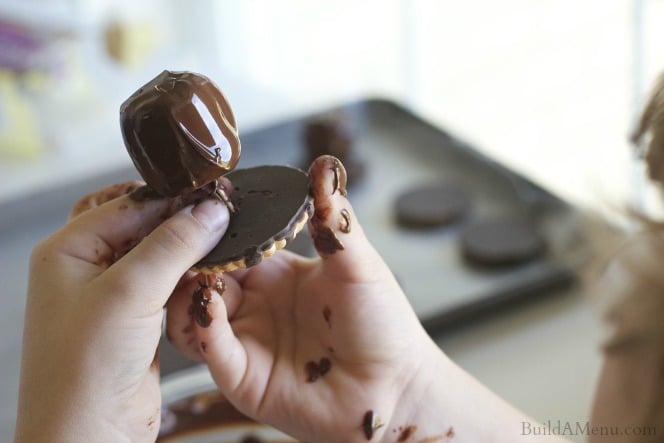
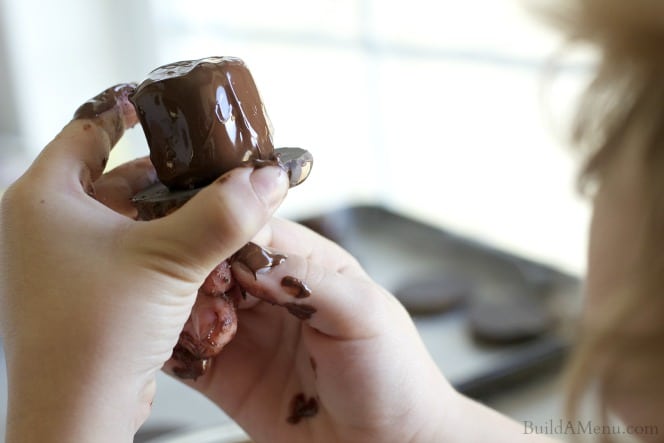
If your cookies don’t already have holes in the center (some do), just apply a little pressure. You should be able to get the toothpick through. Place the cookie back on the sheet and repeat until all the cookies have chocolate marshmallows on top. Put the cookie sheet in the refrigerator for about 20 minutes or until the chocolate is set.
After the chocolate has set, pipe a buckle on each hat with your yellow frosting. If you prefer, you can use white frosting dyed with yellow food coloring.
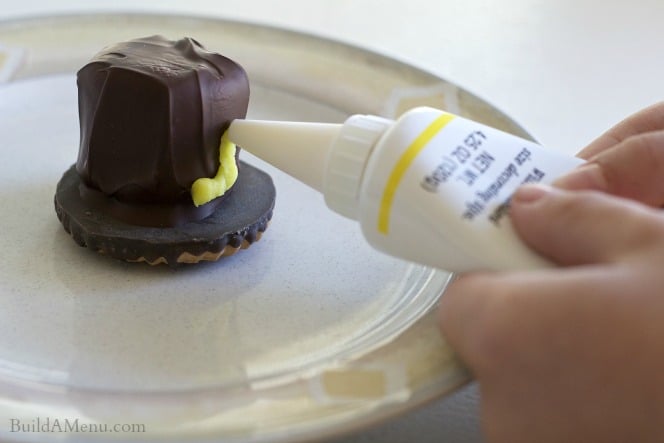
Younger children may need help with piping. Remind kids to squeeze from the bottom of the frosting in the tube, not the middle, so the pressure will remain consistent (note my son demonstrating the wrong way in the above picture! Ha!)
Once you have piped on all the buckles, your Pilgrim Hat Cookies are ready to eat!
Happy Thanksgiving!
Patti Brown is a homeschooling mom of three. Patti and her daughter, Abbie, blog at Blossoms and Posies. There they write about home skills, recipes, crafting, and more. Be sure to stop by to visit and let them know that you found out about them on the Hip Homeschool Moms site! You can also find Patti on the Build a Menu site, an online menu planning service.


These are so adorable! It would be so fun to make these with my grandchildren. Thank you so much! Shared on Twitter.
Aren’t they adorable? Thanks for sharing us!!
These are so adorable! It would be so fun to make these with my grandchildren. Thank you so much! Shared on Twitter.
Aren’t they adorable? Thanks for sharing us!!
These look so cute! And yummy too! I’m featuring them at this week’s link party http://www.thelifeofjenniferdawn.com/2014/11/a-little-bird-told-me-link-party-118.html
These look so cute! And yummy too! I’m featuring them at this week’s link party http://www.thelifeofjenniferdawn.com/2014/11/a-little-bird-told-me-link-party-118.html