Studying Art with Papier-mâché Mary Cassatt Art Lesson

What child doesn’t love making papier-mâché?! Creating something out of papier-mâché is something most students absolutely love! It’s a little bit messy, very hands-on, and children can create a huge variety of things just for fun or to go along with something you’re studying in your homeschool.

Whether you just want to have fun with papier-mâché with your children or whether you want to create these papier-mâché hats to go along with this art lesson about Mary Cassatt, you have to give this a try! It can be hard for homeschooling moms to figure out how to include art in their homeschools once their children are past the early elementary years. At that point, art changes from something simple and easy to plan into something a little more complicated. On the bright side, though, it also becomes more meaningful!
Here you’ll find the perfect lesson for teaching about Mary Cassatt– by making papier-mâché hats! Your child will love making and wearing these Mary Cassatt hats while exploring color harmonies. Since most of Mary Cassatt’s paintings include women wearing hats, I wanted to include the style and dress of the times and have my children walk away with hats they could have fun wearing and dressing up in also. In this lesson, your child will learn about the artist, color, and also the basics of papier-mâché.
NOTE: Keep in mind that this project requires drying time, so allow plenty of time to finish. Plan to work over a few days. I’ll take you step-by-step through the lesson.
For this lesson, you will need:
- Mary Cassatt prints or book about Mary Cassatt (You can find some great books about Mary Cassatt on Amazon.)
- balloons
- liquid starch
- newspapers cut in 1″ strips
- cardboard
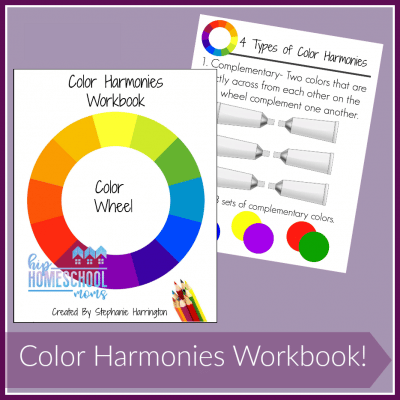
- color harmony lesson workbook (see below)
- tissue paper
- pipe cleaners
- acrylic or tempera paints
- large paint brushes
- glue gun
- ribbons
- sequins
Mary Cassatt Art Lesson
I always begin this type of lesson by teaching about the artist. Sometimes I might read a book about the artist. Other times I might just read a simple biography. But I always include looking at and talking about the artist’s work. Mary Cassatt is one of my favorites. First, I admire her for her accomplishments. An American artist, she painted for a living at a time when very few women were able to be artists for a career. Second, I love the way she painted women, often with their children. She had a way of capturing the life of a mother and a mother’s love for her child. Her paintings and what they say are absolutely beautiful.
She spent most of her life in France painting and became good friends with Edgar Degas but was forced to return home during the Franco-Prussian War. She is known for her impressionist style, but after 1886, she worked in a variety of techniques.
Color and Style
In this Mary Cassatt Art Lesson, I reviewed the color wheel with my students. I reminded them about mixing, warm and cool colors, and primary and secondary colors. We went a step further and discussed tertiary colors as well. I used my Color Harmonies worksheets to teach them about four kinds of color harmonies:
- Complementary
- Monochromatic
- Analogous
- Triadic
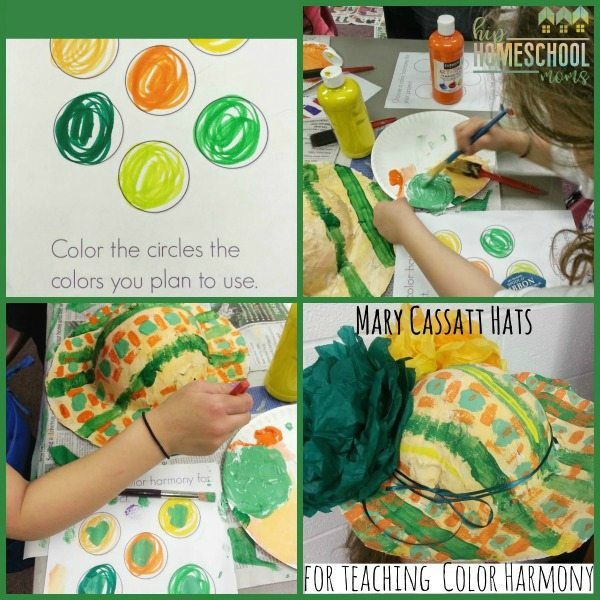
Next, I gave them a worksheet so they could use it as a color palate for planning. You can use anything–for example, divide a paper plate into six pie pieces and have them use that as a planning palate.


Papier-mâché Hats Tutorial
Now that your child has decided on the color choices, it’s time to begin making the hat. Papier-mâché can be a bit messy, so I recommend covering your work space with plastic. (I sometimes use inexpensive tablecloths like these.)
⇒Follow this tutorial for making the paper mache hats.
But to create a brim for Mary Cassatt Hats …
- Holding the balloon upright on cardboard, trace around the balloon.
- Cut a hole in the cardboard. Then cut again making a circle rim for the brim of the hat. Cover it with plastic wrap and cut a hole in the middle. (The plastic is used so that, when the papier-mâché dries, it will be removable from the brim mold.)
- Place balloon in the middle of the brim. Leave the plastic wrap intact.

While still wet, decide the style hat you wish to make. You can turn the brims up on both side to make a cowboy hat. Or you may want to make a helmet or baseball cap instead. Or you can leave the brim flat (like in the picture below.)
Let each hat dry at least over night. Once completely dry, you can trim to improve shape as needed. Priming first with white tempera worked well for us. This will keep paper print from bleeding through the colors.
Now the hats are ready to paint and decorate.
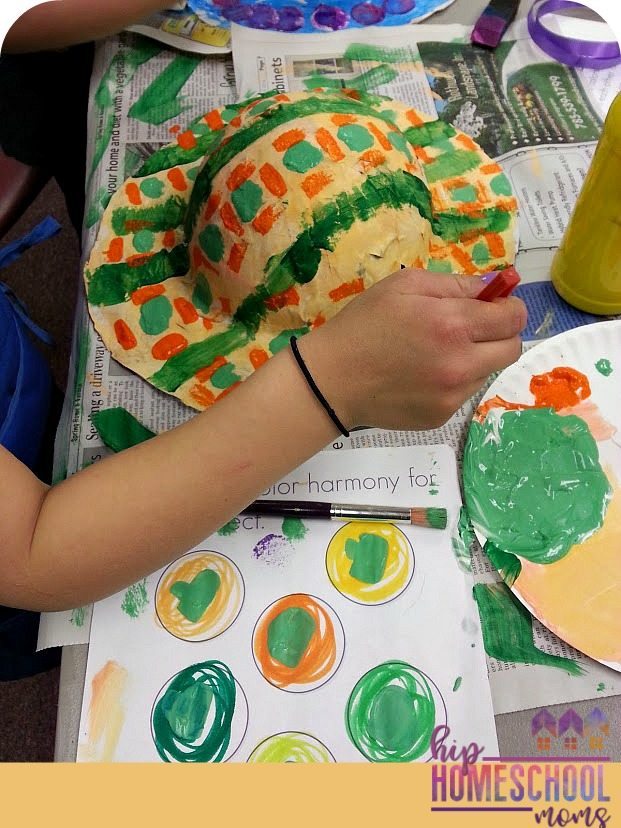
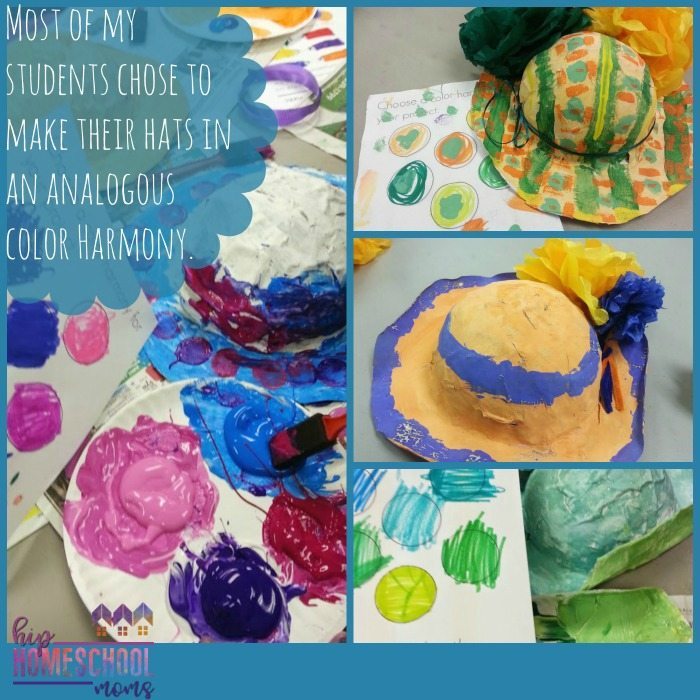
The assignment is for each child to choose one type of color harmony and then apply that color choice to his/her hat. This example is from a student who chose an Analogous Color Harmony. Analogous is a range of a few colors on one side of the color wheel. In this case, orange to green. My students colored them with markers in the example above, but you could also use paint. If you use markers, you’ll need markers in a range of different shades, so it will probably be easier to use paints since they can be mixed to produce a variety of colors.
Decorate Your Mary Cassatt Hats
Now, things are just getting good. This is when your children can really have fun making their hats all they imagine. My students were so very excited about their hats. Here are a few of the hats they made and their color harmonies!
Add final touches to the hats such as flowers and bows. Tissue paper flowers can be easily attached with pipe cleaners poked through. But a glue gun and hot glue is best for attaching a variety of material. You can also reinforce any accidental holes or gaps with hot glue. Be sure hats are completely dry before this step.