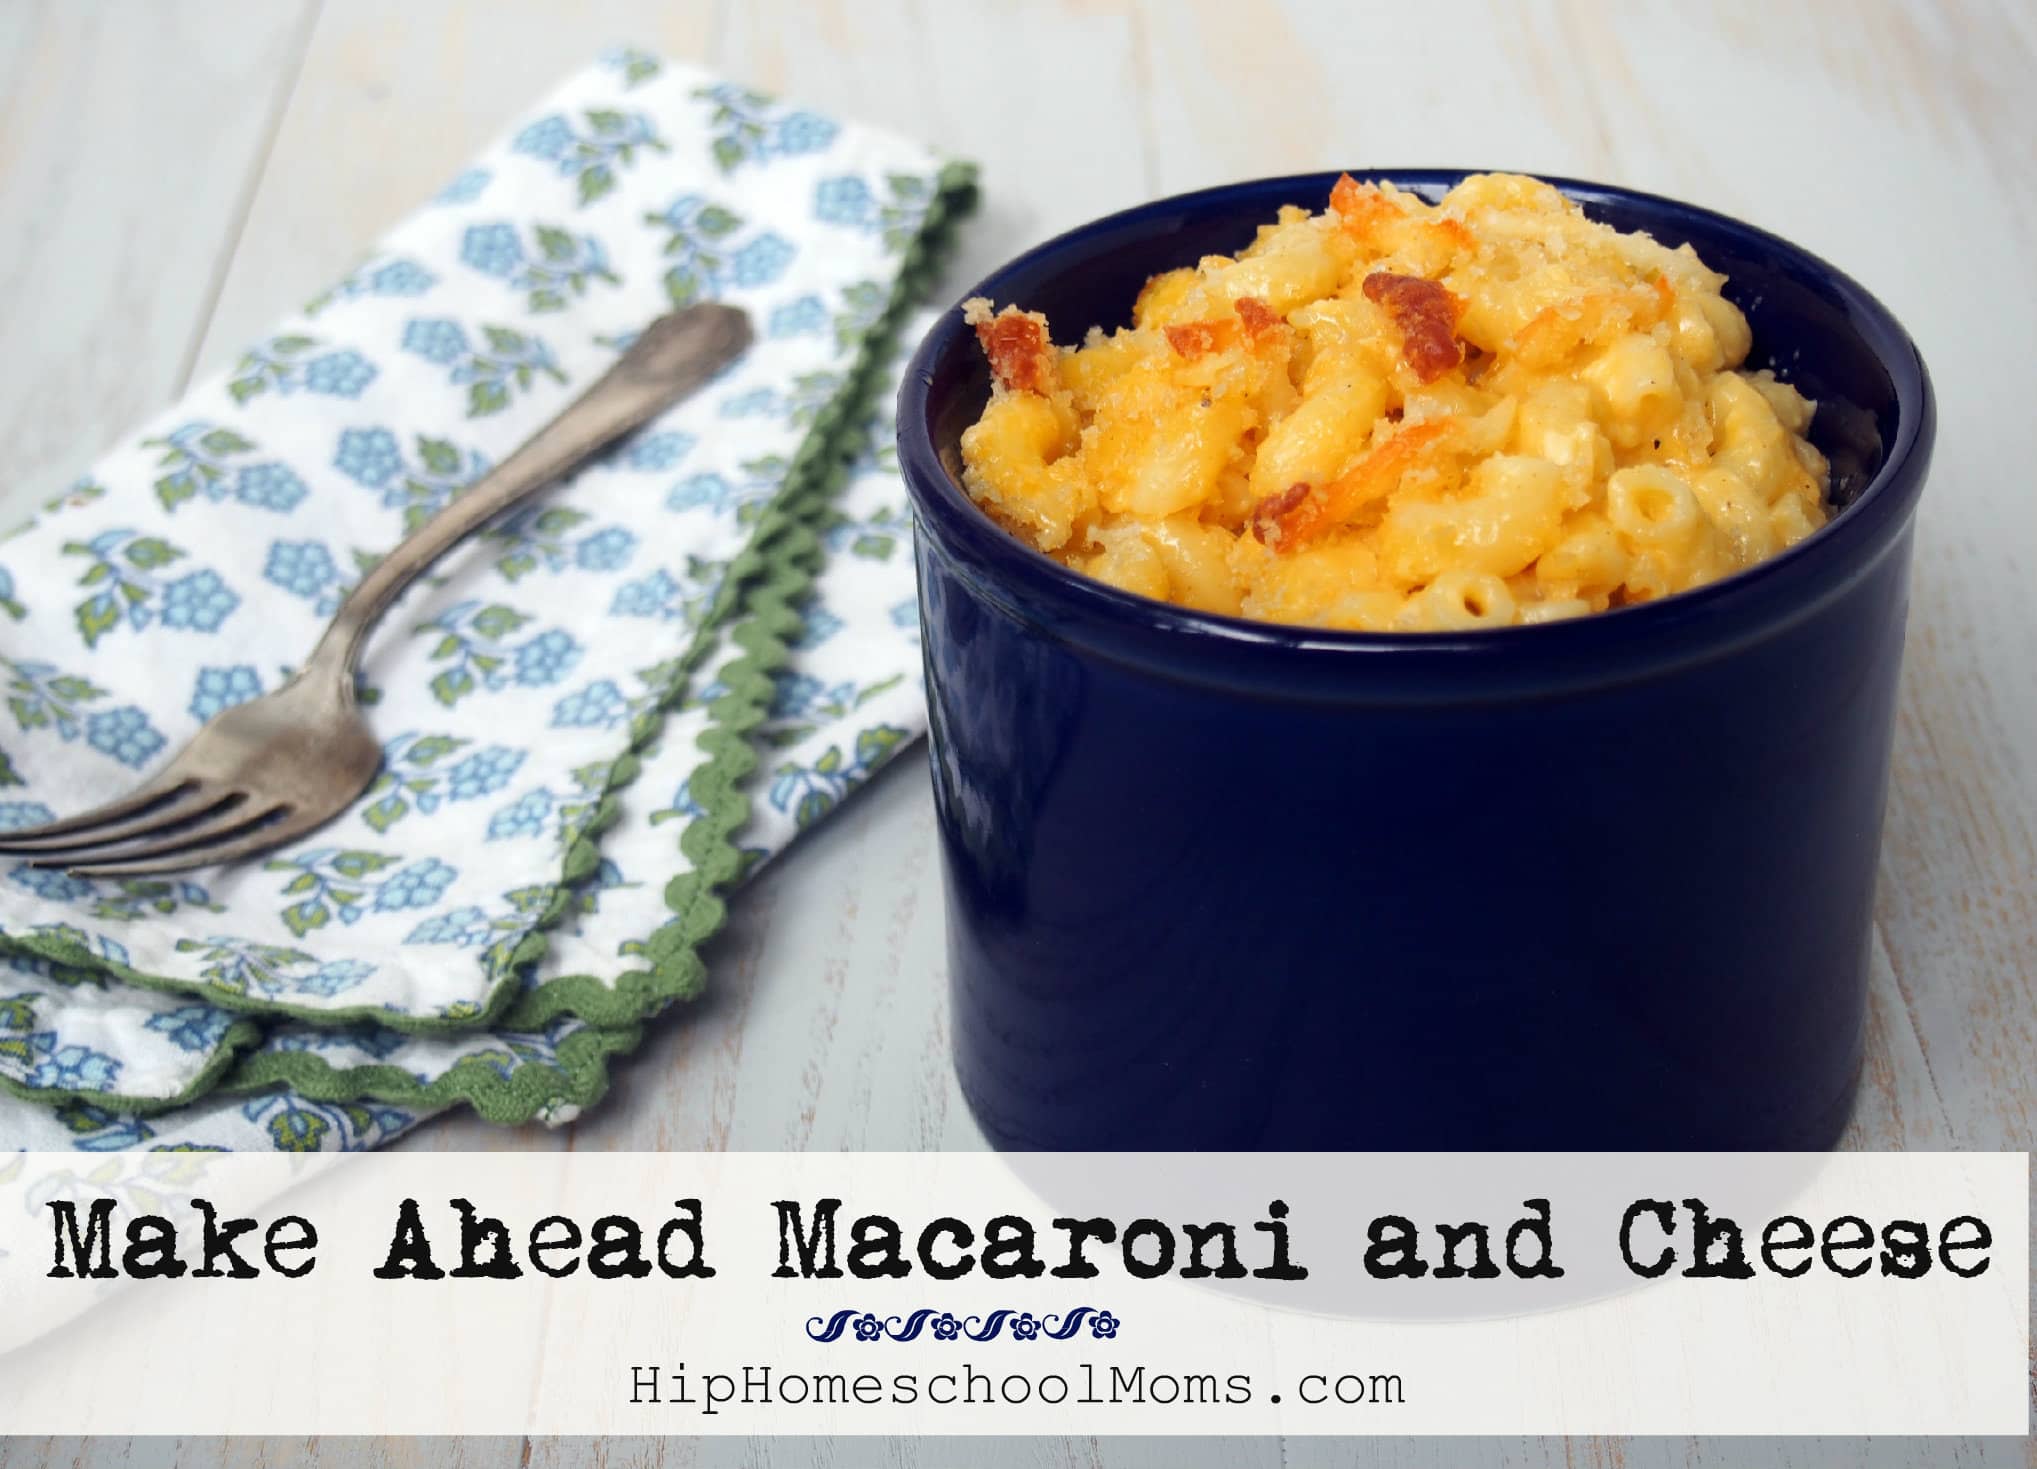
Make Ahead Macaroni and Cheese Recipe
A creamy, comforting macaroni and cheese recipe with a crunchy topping is a family friendly favorite meal that will not only leave them satisfied, but clamoring for more. The recipe is scaled to provide two meals—one for now, and one to freeze for later.
As a mother of four active boys, I learned early on that consistently planning our menus and having a well stocked freezer were necessary for the survival of my sanity. As homeschooling moms, we are all busy with school, church, our homes, and extra curricular activities. Having a few “slam dunk” meals ready in the freezer makes what can be a hectic transition from school time to dinner time much less likely to end with take out food or cereal for dinner…again.
 Oh, come on! I know I can’t be the only one to hang my head in defeat as I drop boxes of cereal on the table because the day got away from me, and I no longer have the time nor inclination to cook a proper dinner because everyone is hungry right now.
Macaroni and cheese is always a favorite in our house, so I’ve developed a recipe that can either feed a crowd or feed a family of six at least twice. I like the peace of mind that comes with having a little back up in the freezer for a busy night in the future. The recipe is also great for toting warm to pot lucks or blessing a family in need with a meal.
Now I’m a mise en place kind of gal, so I like to get all of my ingredients measured and ready to go before I begin cooking.
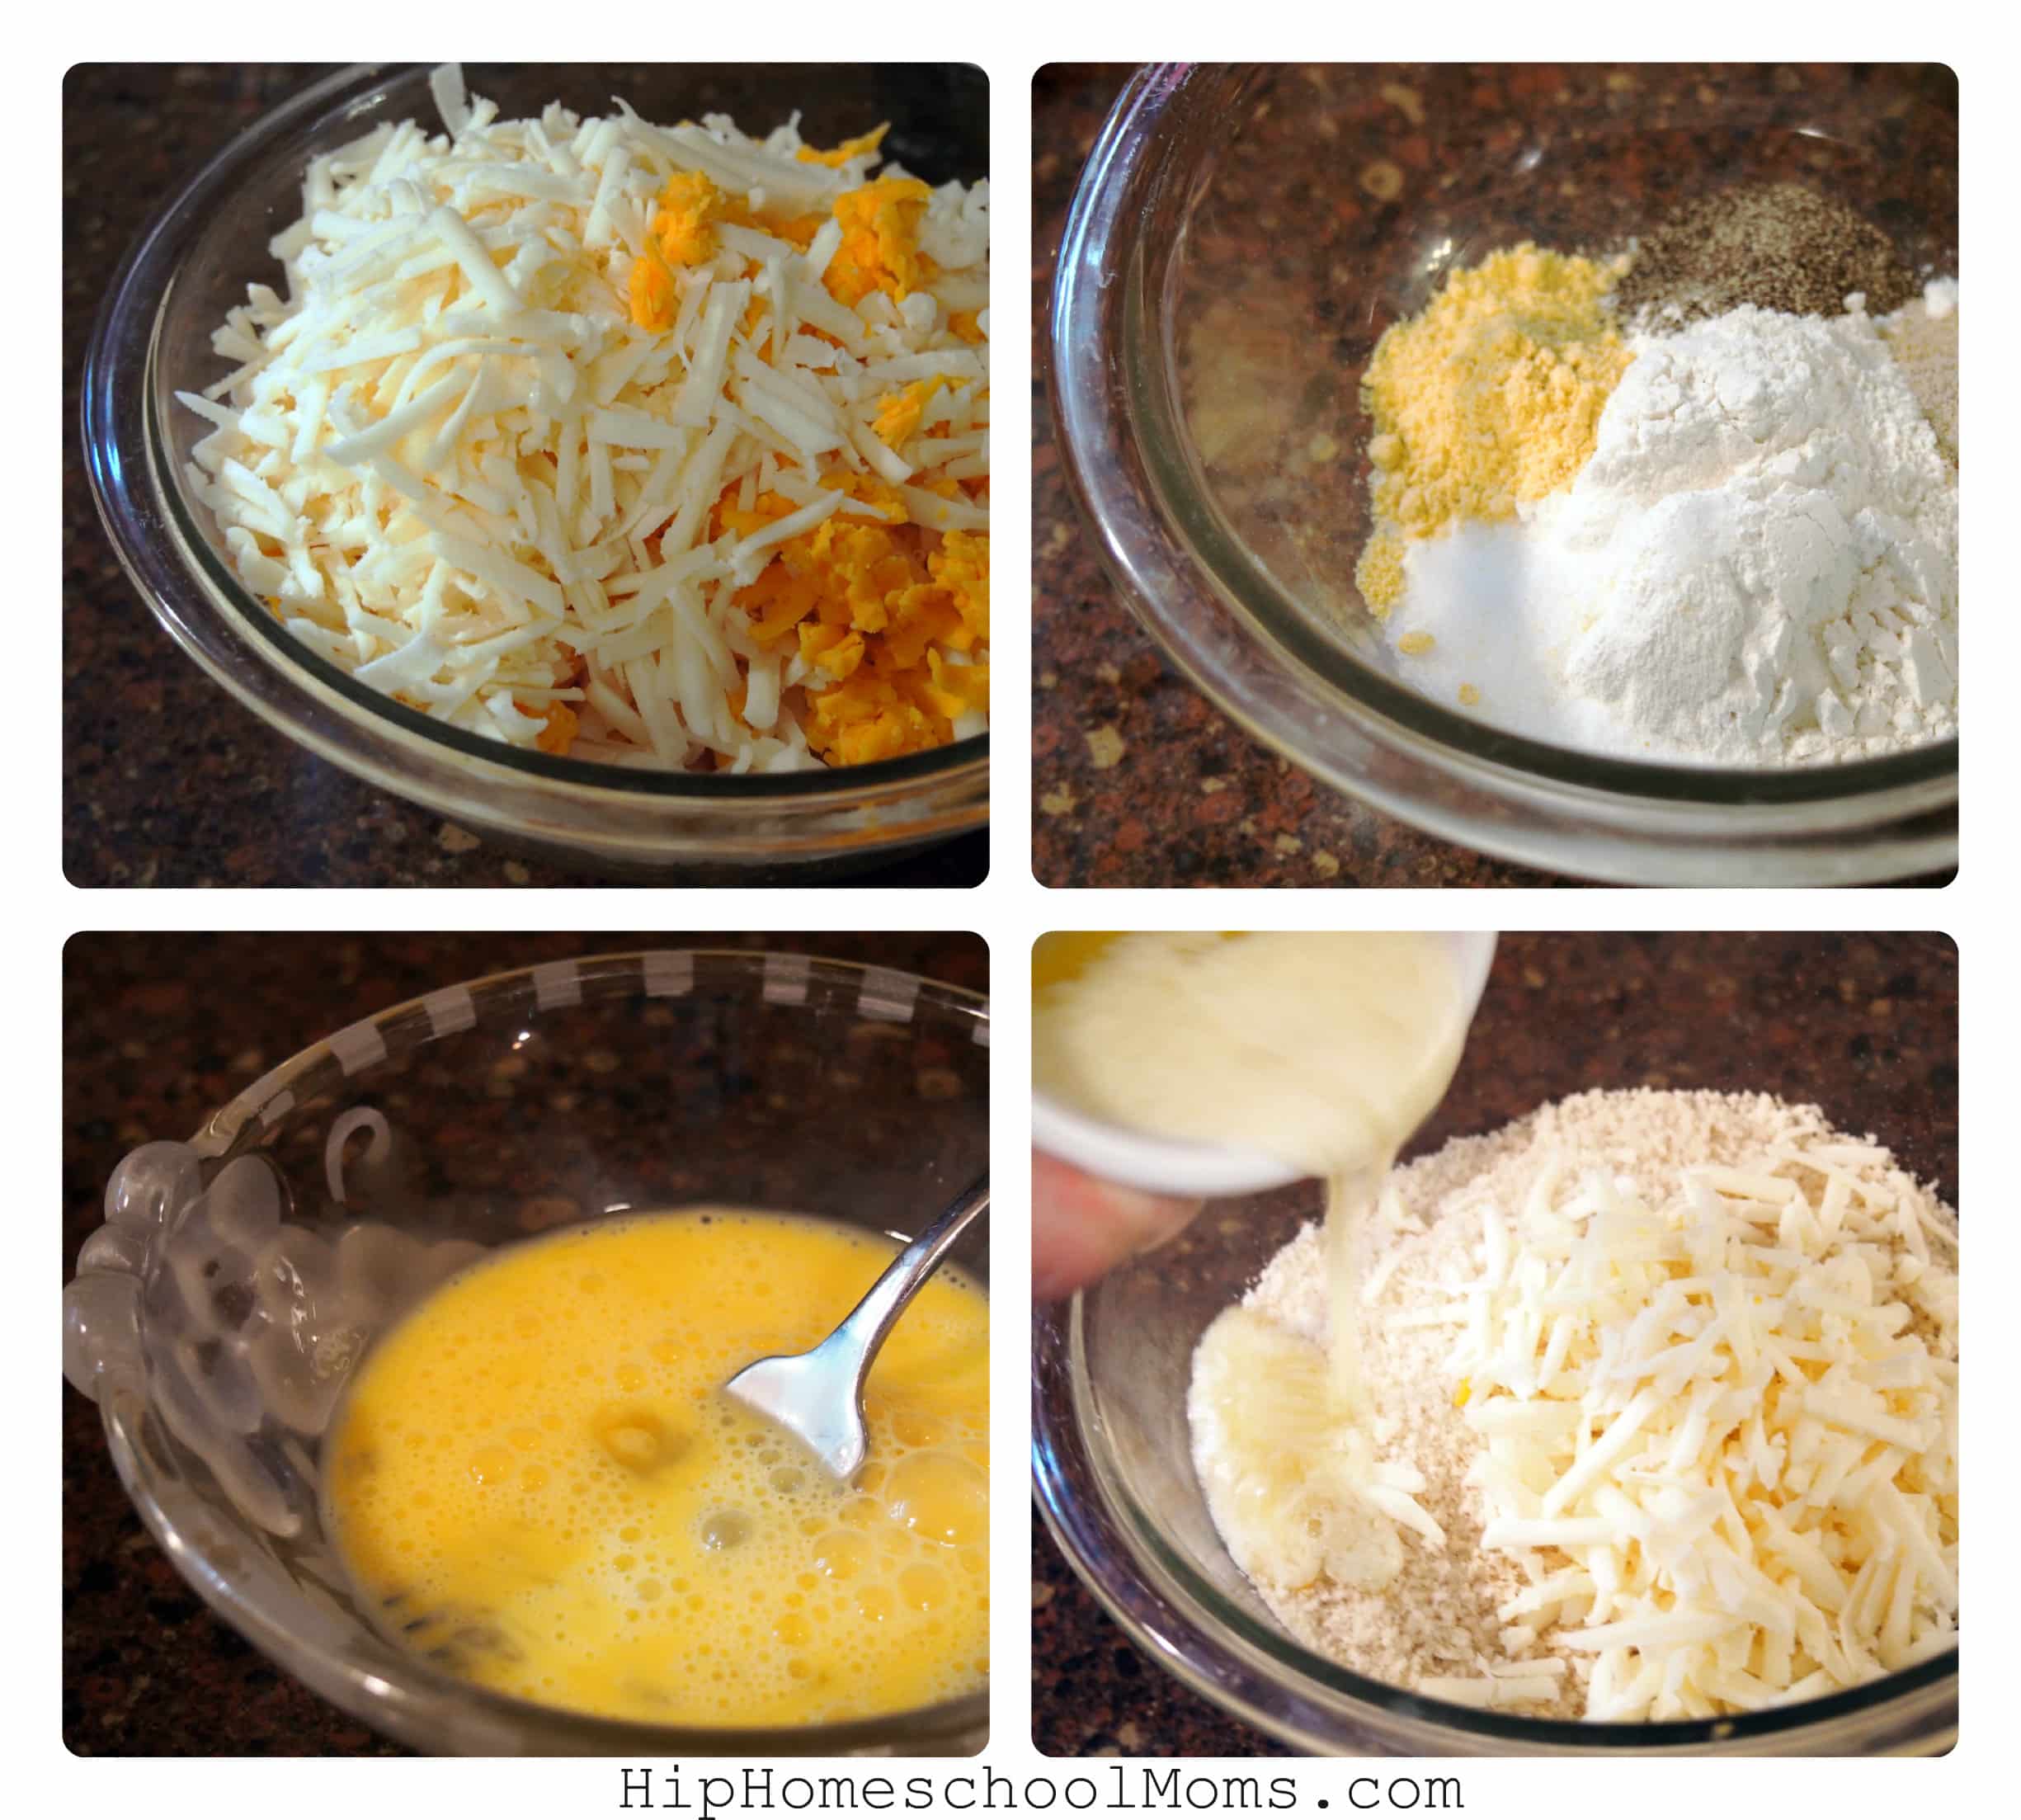
My reality is that I can count on getting interrupted a few times while I’m cooking, so having everything ready helps ensure that I don’t forget something important.
Cook the macaroni according to package directions for an al dente texture and drain it in a large colander. Preheat the oven to 350°F, and then butter two 9 x 13″ baking dishes.
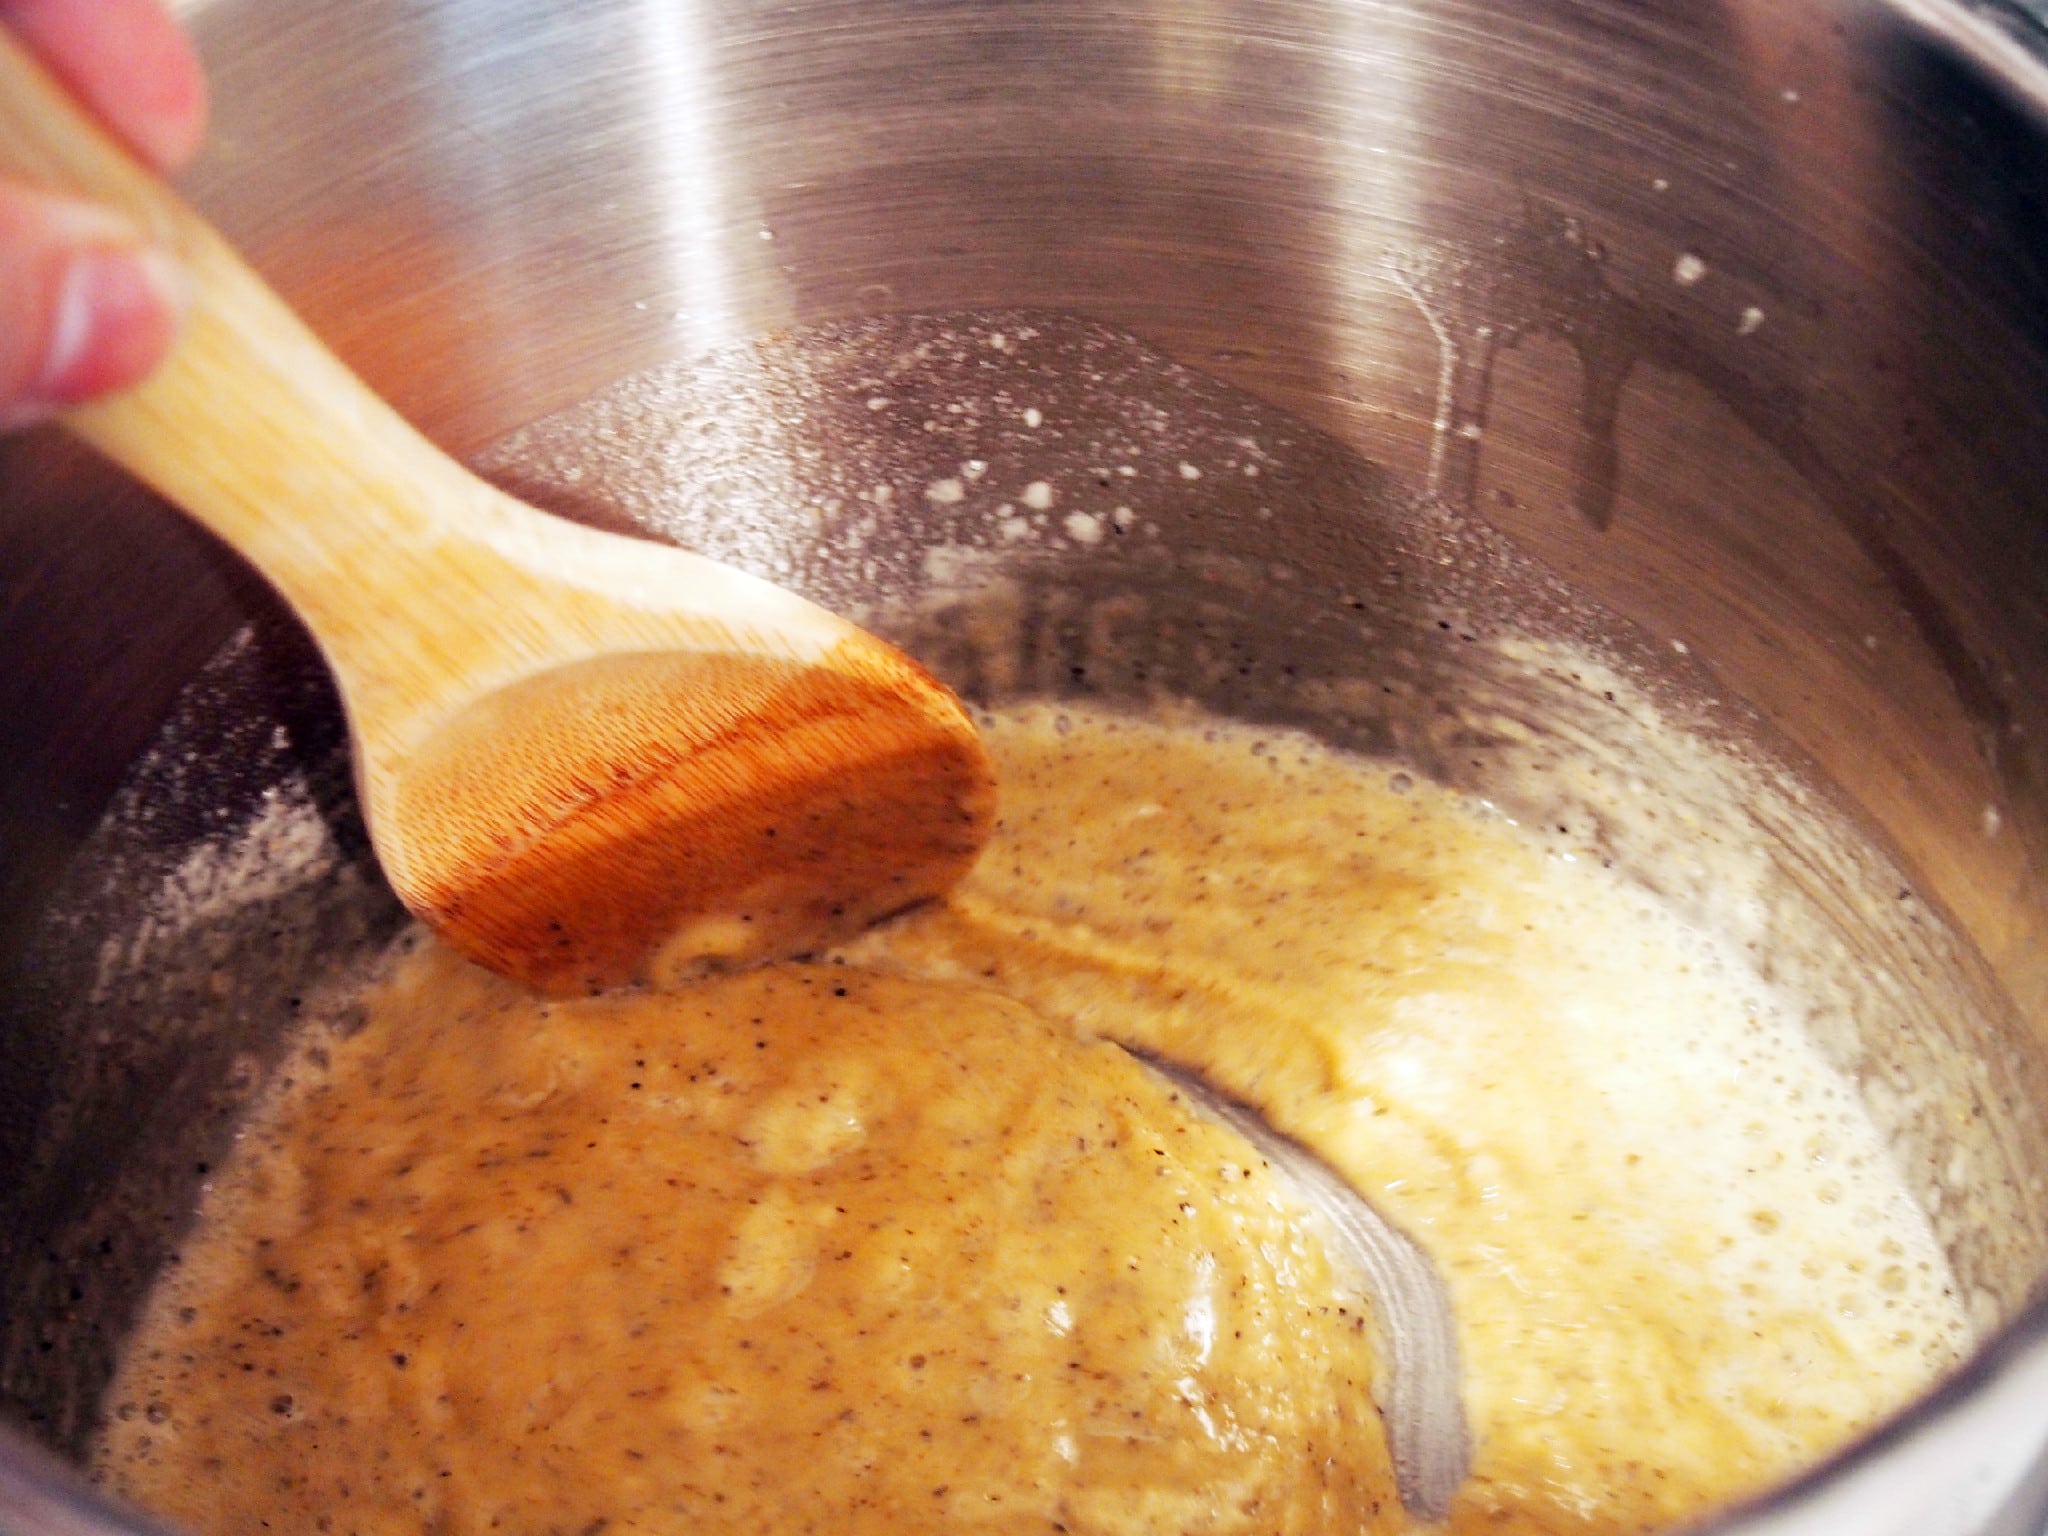
Prepare the sauce by melting the butter in a large saucepan set over medium heat until it begins to froth and sizzle. Sauté the garlic briefly before sprinkling the dry ingredients over the foaming butter. Cook and stir the mixture continuously until it becomes smooth and almost paste-like in texture.

Remove one half cup of the thickened roux from the pan, and then slowly stir it into the beaten eggs to temper them. Tempering the eggs now will prevent scrambled eggs in the cheese sauce later. While scrambled eggs are tasty, they have no business in a cheese sauce.
Pour in the milk and continue to cook the sauce base while whisking it smooth, until it thickens to the point that it will coat a spoon. Remove the sauce from the heat and stir in the cheese until completely melted. Fold the cooked macaroni into the cheese sauce to thoroughly coat. Divide the macaroni and cheese evenly between the prepared baking dishes.
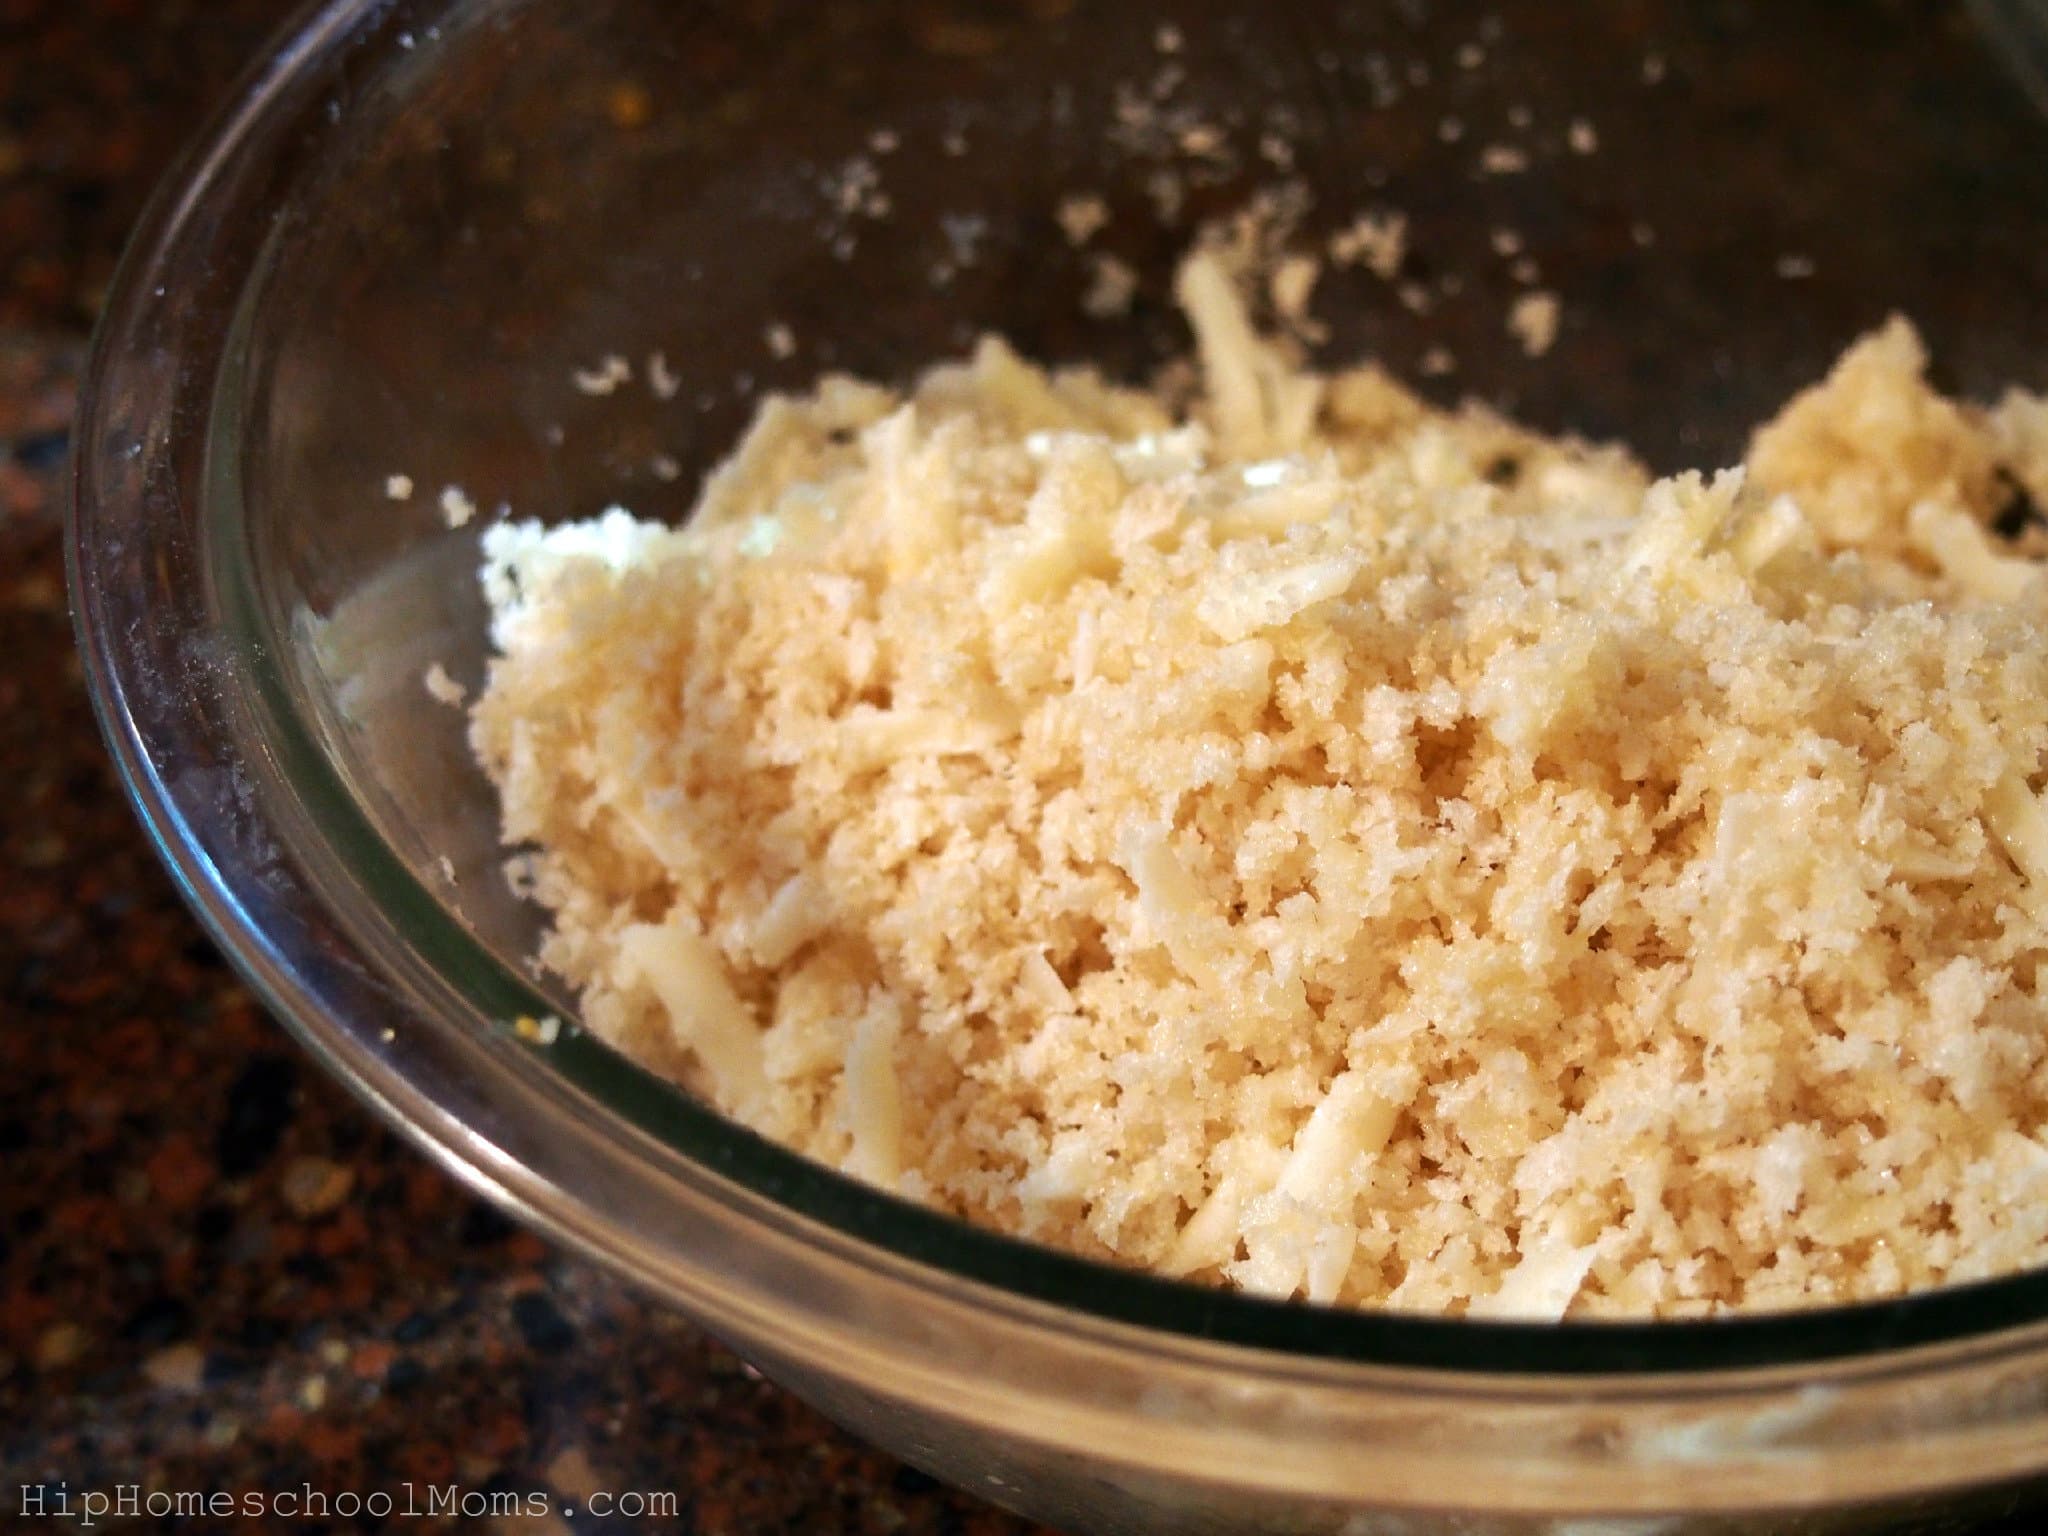
Pour melted butter over breadcrumbs and a little more cheese, tossing until it begins to clump together.
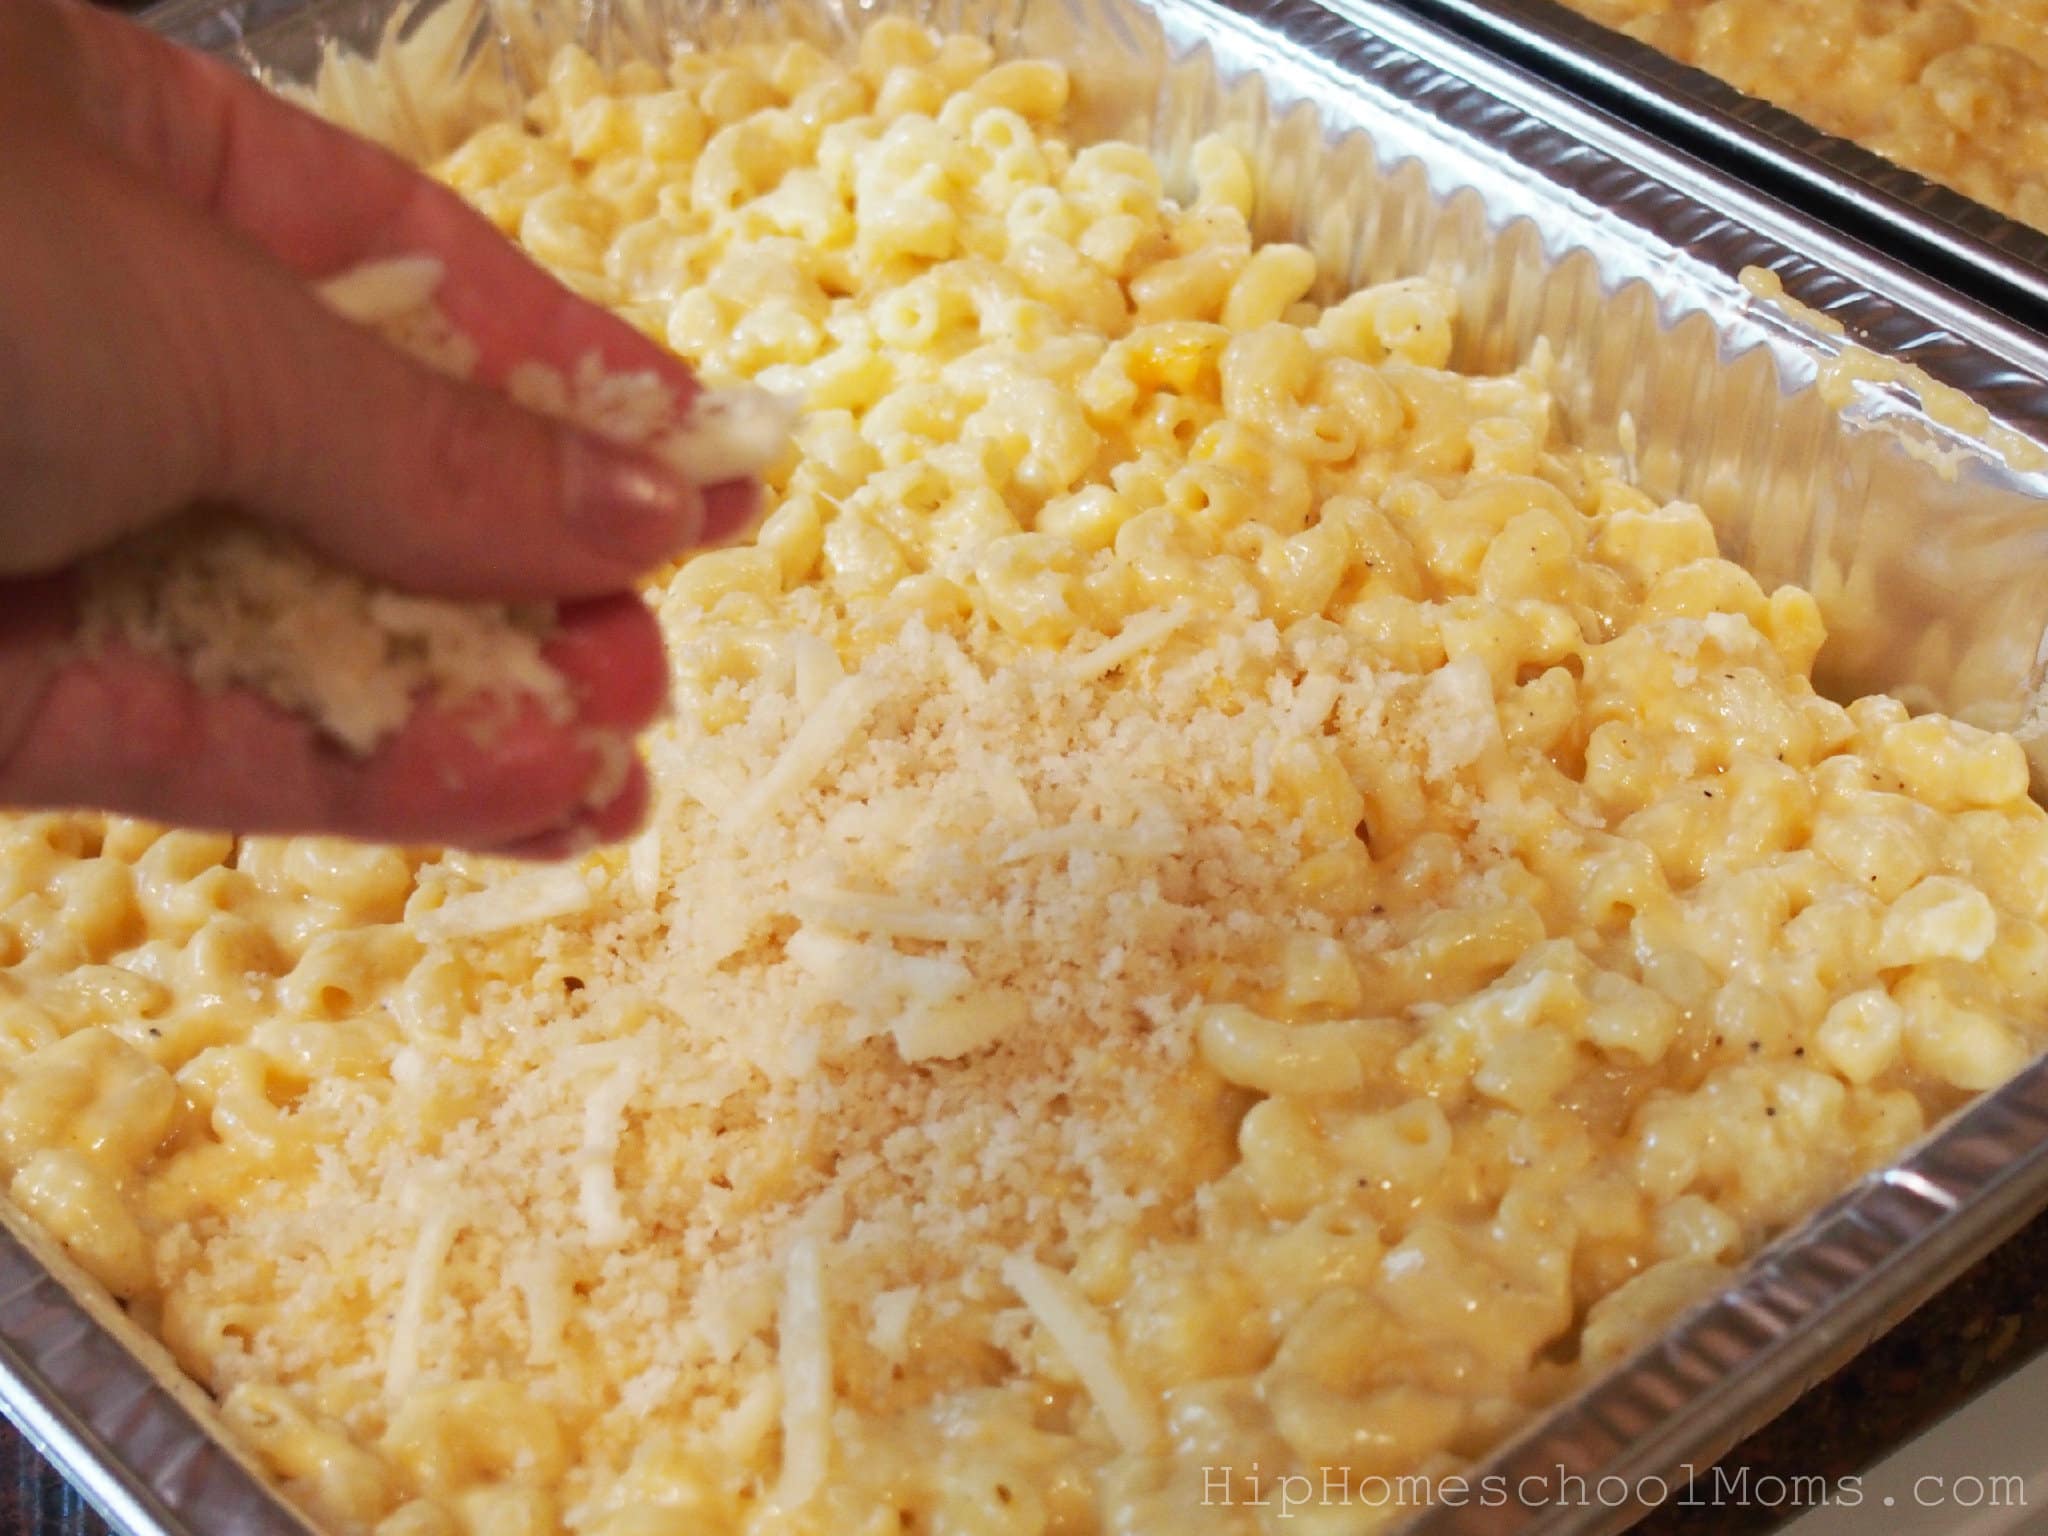
Divide the topping in half, and then sprinkle it evenly over each pan.

Once the topping has been applied, bake at 350 for about 20 minutes and serve immediately. If you aren’t going to eat the second pan right away, simply allow it to cool completely, cover it with heavy duty foil, pop it in the freezer, and keep it on hand for later. (This will keep in the freezer for up to 3 months.)
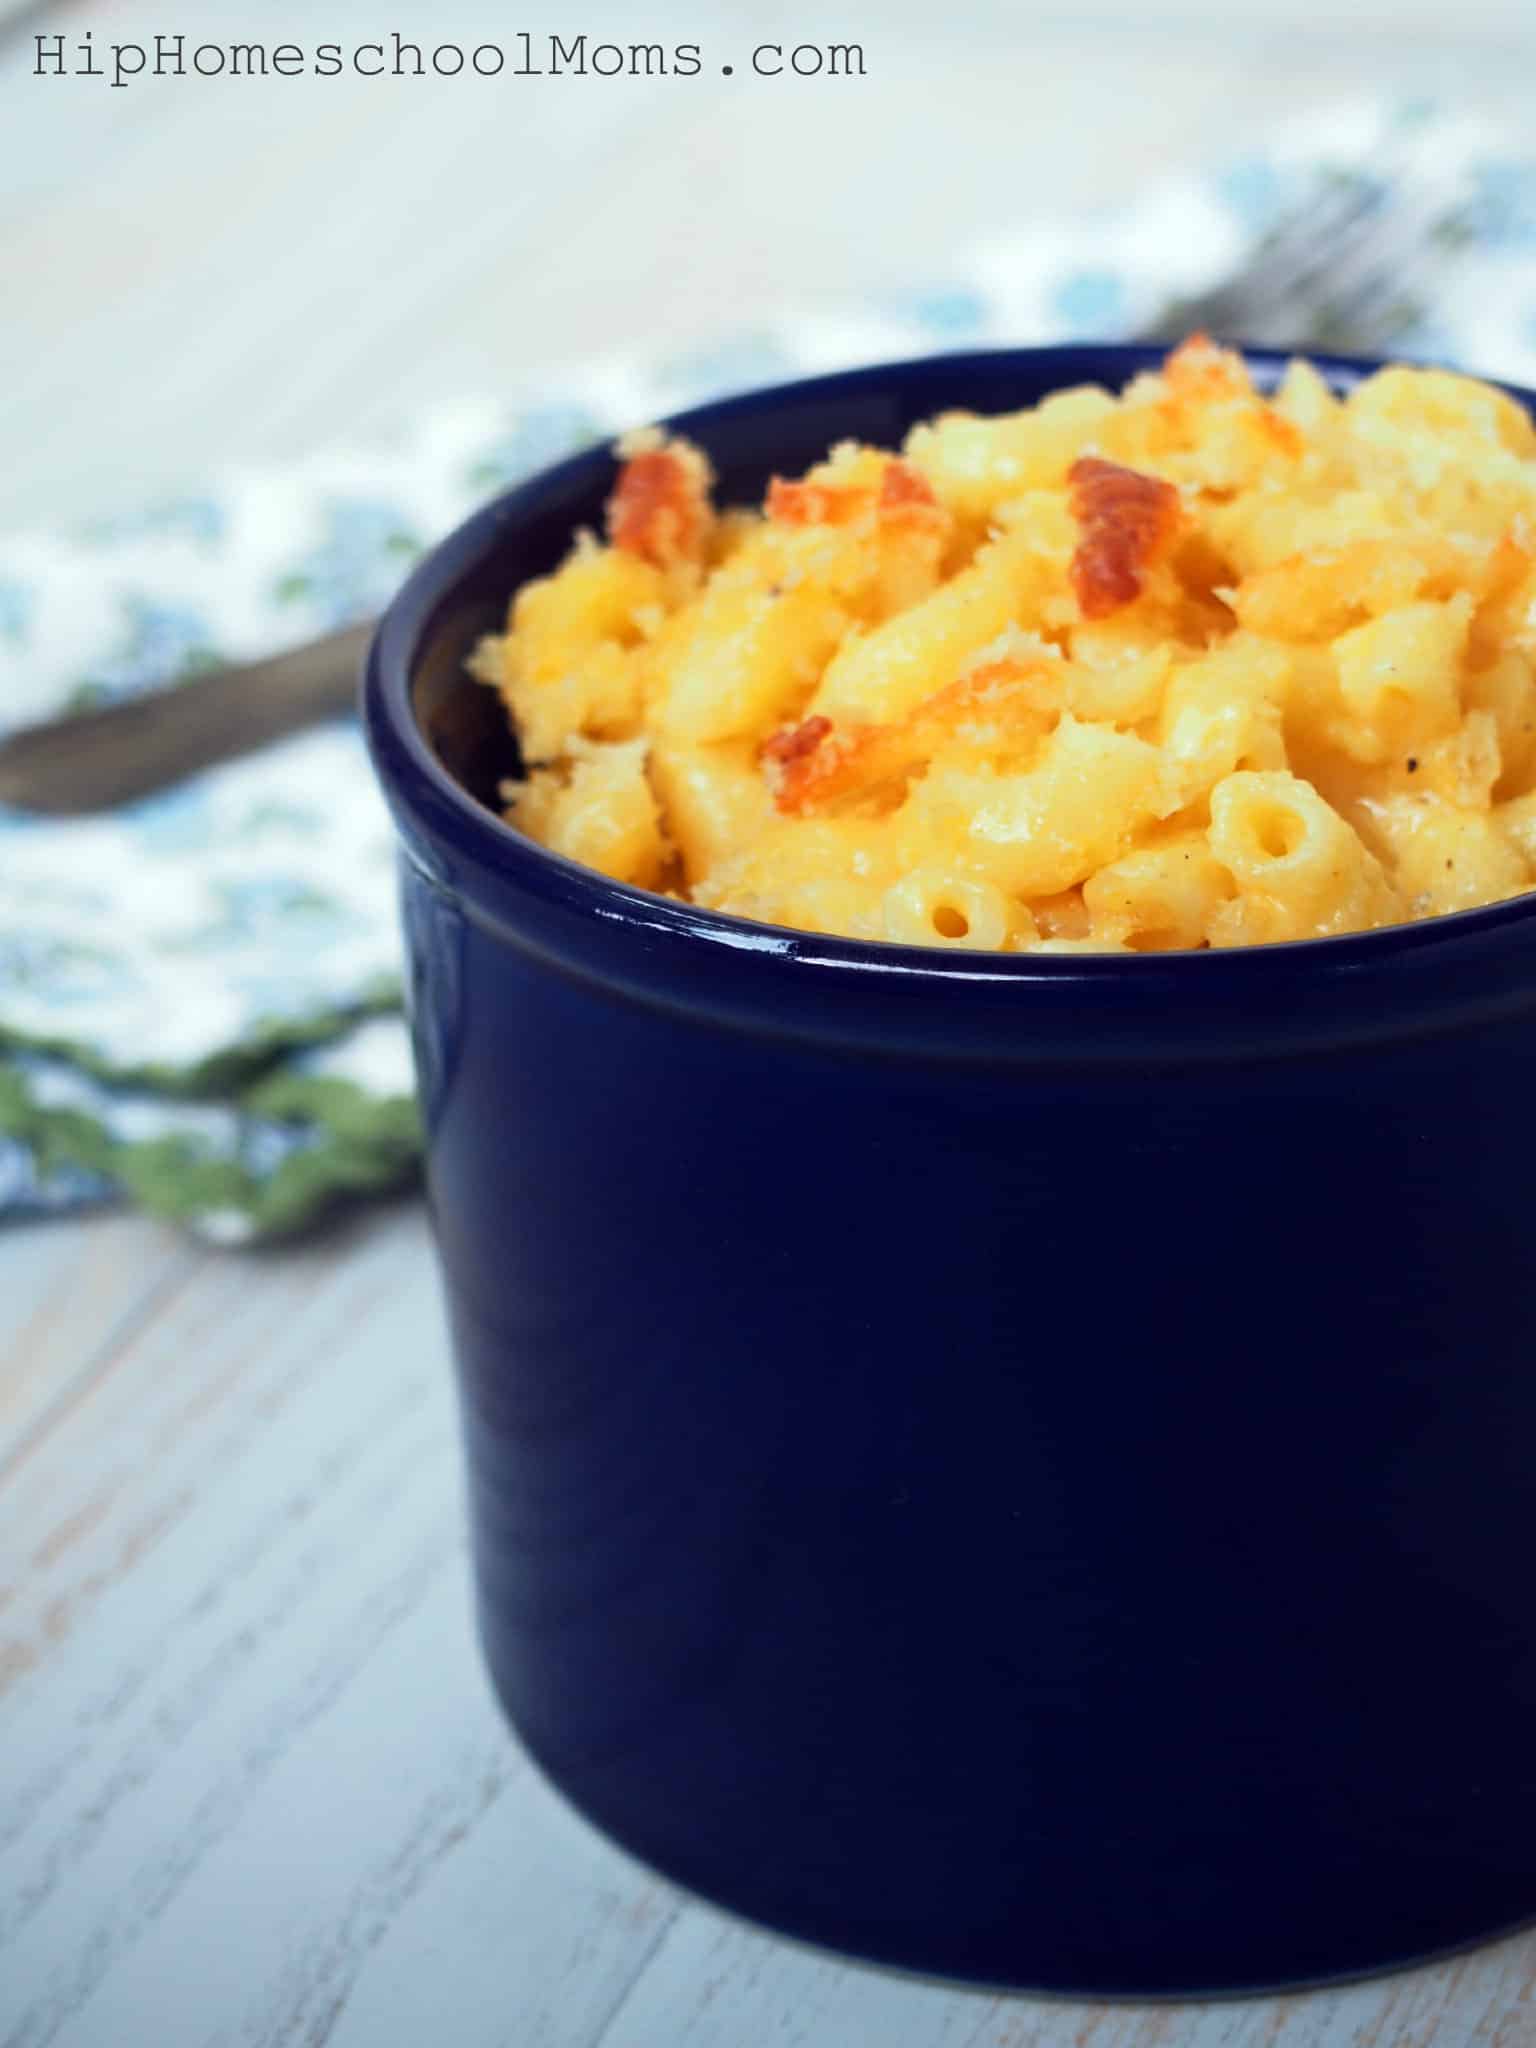
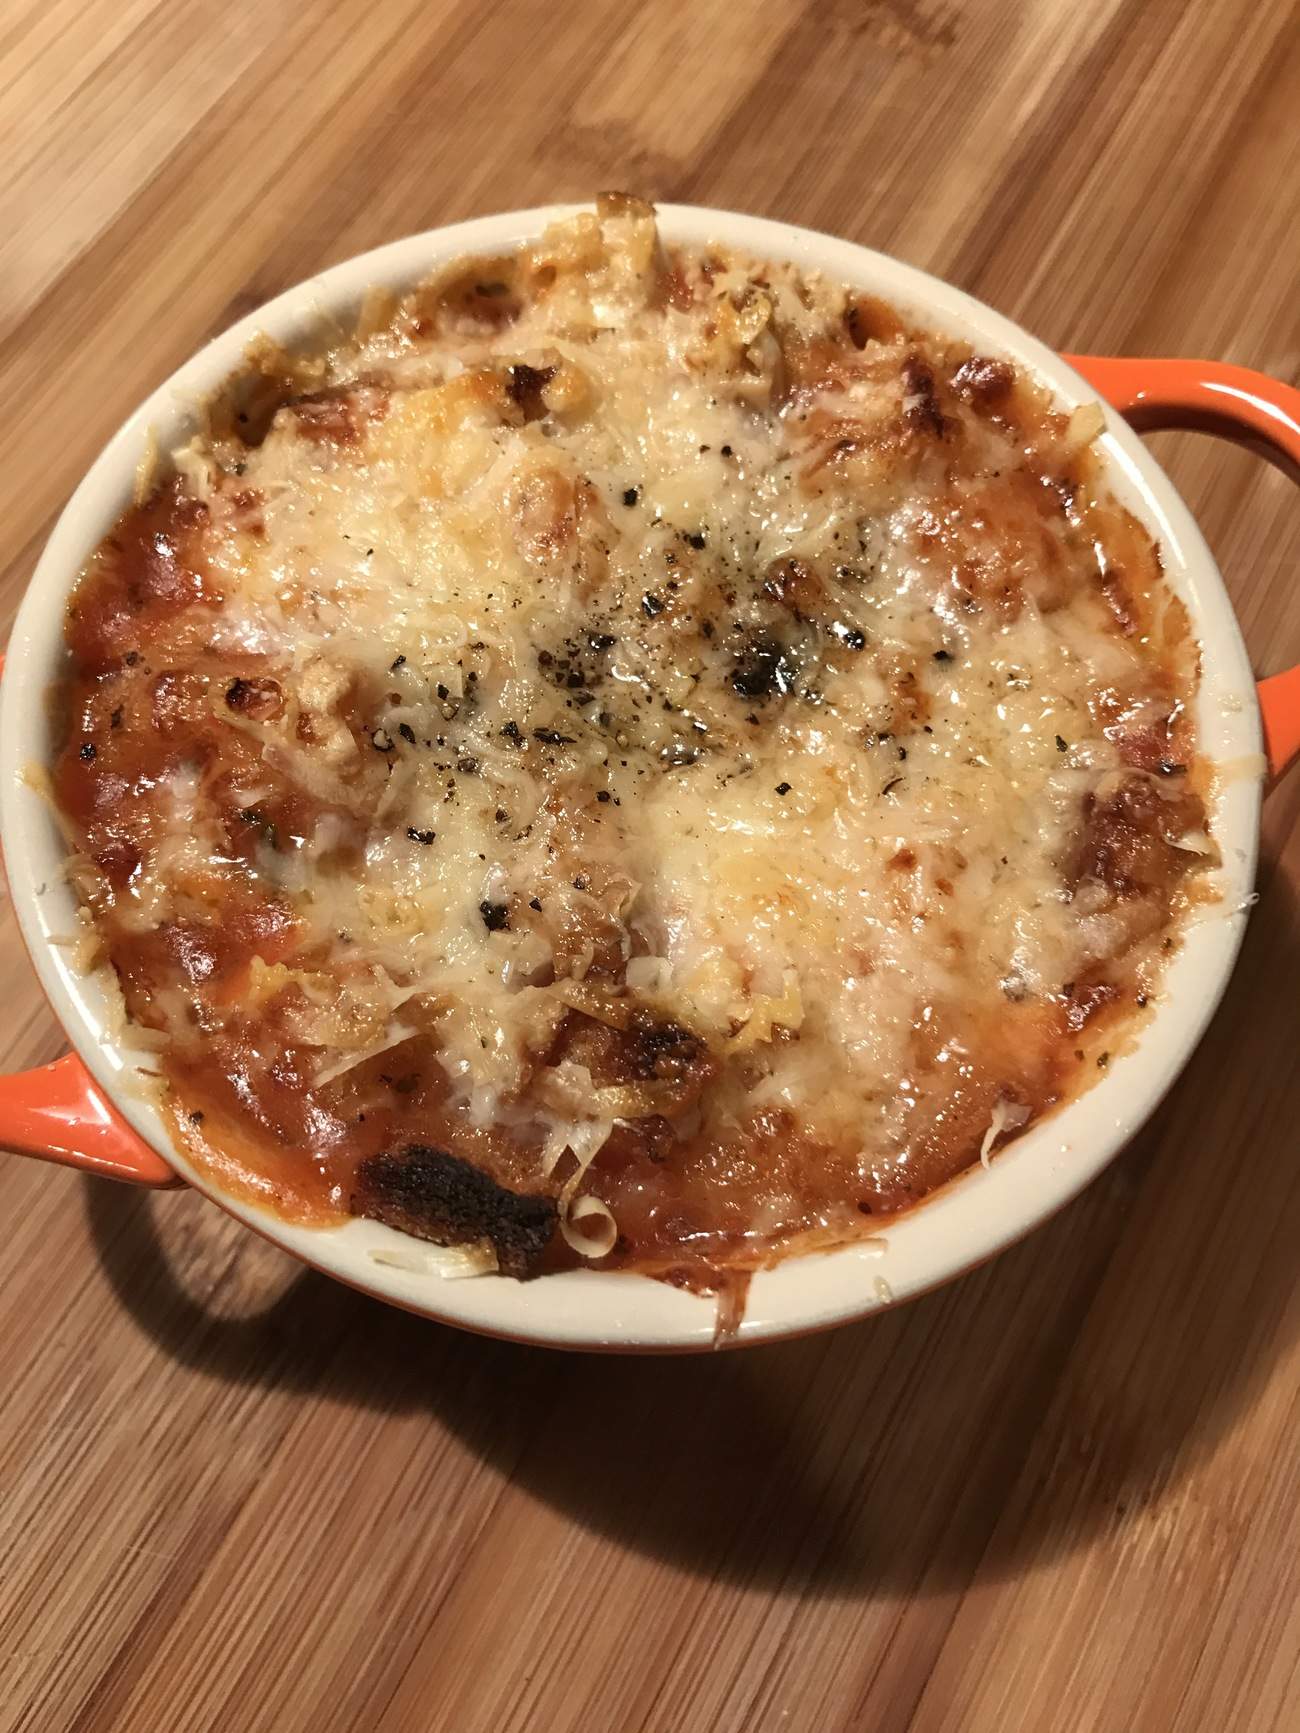
Make Ahead Macaroni and Cheese is a comforting recipe that makes a ton so that there is plenty for multiple meals or to share with others.
Print
Make Ahead Macaroni and Cheese Recipe
- Prep Time: 40 mins
- Cook Time: 20 mins
- Total Time: 1 hour
- Yield: 20 servings 1x
Description
Creamy, comforting macaroni and cheese with a crunchy topping is a family friendly meal that will not only leave them satisfied, but they’ll be clamoring for more. The recipe is scaled to provide two meals–one for now and one for later.
Ingredients
- 2 lbs. (32 oz.) elbow macaroni
- 6 tbsp all purpose flour
- 2 tsp dry mustard
- 1 tsp kosher salt (plus more for salting pasta water if desired)
- 1 tsp seasoned salt
- 1 tsp black pepper
- 8 tbsp unsalted butter
- 1 clove garlic, peeled and minced (optional)
- 5 1/2 cups 2% milk
- 2 eggs, beaten
- 3 1/2 cups cheddar cheese, freshly grated
- 2 cups Italian cheese, freshly grated (Asiago Fresco, Parmesan, Romano, or blend is preferred)
- 1 1/2 cups Panko style breadcrumbs
- 4 tbsp unsalted butter
- 1/2 cup Parmesan cheese, grated
Instructions
- Preheat the oven to 350 degrees F. Lightly butter two 9X13″ baking dishes.
- Prepare the macaroni according to package directions for an al dente texture.While the pasta is cooking, prepare the cheese sauce. Once the pasta is al denta, drain and set aside.
- Measure the flour, dry mustard, salt, seasoned salt, and pepper into a small bowl; stir together with a fork to combine.
- Melt the butter in a large saucepan set over medium heat until it becomes frothy.
- Add the garlic to the butter and saute for 30 seconds.
- Stir the dry ingredients into the frothing butter until smooth.
- Cook and stir the base mixture for another minute or two, or until it thickens to the point that dragging the spoon across the bottom of the pan leaves a clean streak for several seconds.
- Remove one half of the thickened roux from the pan, and then slowly stir it into the beaten eggs to temper them. Once the eggs have been tempered, add them back into the roux and stir to combine.
- Add the milk into the roux all at once, whisking the base mixture to break up any lumps. Continue to cook and continually whisk the sauce until it becomes thick enough to coat the back of a spoon.
- Remove the sauce from the heat, and stir in the grated cheeses until completely melted.
- Fold the cooked macaroni into the cheese sauce until it’s completely coated.
- Divide the macaroni evenly between the two prepared baking dishes.
- Prepare the topping by combining the melted butter, bread crumbs, and cheese until the bread crumbs are fully coated and begin to clump.
- Divide the topping in half and sprinkle evenly over the macaroni in each of the baking dishes.
- Bake both pans of macaroni and cheese in the preheated oven for 20 minutes or until the topping is golden brown and the sauce is bubbly. Serve one pan immediately.
- While enjoying the first pan of macaroni and cheese, allow the other pan to cool to room temperature. Then tightly cover the baking pan with heavy duty aluminum foil and freeze it for up to 3 months.
- When you’re ready to use this pan, thaw overnight in the refrigerator, and then bake for 30 to 35 minutes at 350 degrees. F.


Generally how long do you leave the frozen pan in fridge to defrost? Heading to a scheduled C section and would love to leave some meals home for my boys!
The author of the article/recipe no longer writes for HHM, so she isn’t able to answer you, but I can tell you what I do. 🙂 I usually put it in the fridge at least overnight. But if I can plan far enough ahead, I like to let it thaw in the fridge for 10 or 12 hours.
So it doesn’t get dried out baking it again after it’s been baked then frozen then baked again?
Mine didn’t. But I usually don’t fully bake the one I’m going to freeze. I leave it a little undercooked. Also, I try to make sure it’s completely thawed out before I bake it when we’re ready to eat it. That way it doesn’t require as long in the oven the second time.
Hi its not clear whether you cook both pans of pasta completely and then freeze one or
cool the warm pasta/cheese/breadcrumb pan (not baked yet) down to room temp and then wrap it, freeze it, and cook at a later date. Please clarify… thanks
Lisa, you should bake both pans. Then wait for the “extra” pan to cool completely, cover it with heavy duty foil, and freeze it. 🙂
Help! I must be doing something incorrectly with the eggs. I successfully tempered them but when I added the tempered eggs back into the roux, I ended up with scrambled eggs (three times) finally I decided to skip the eggs altogether.
Help! I must be doing something incorrectly with the eggs. I successfully tempered them but when I added the tempered eggs back into the roux, I ended up with scrambled eggs (three times) finally I decided to skip the eggs altogether.
Sounds great! Do you bake the mac and cheese before freezing it?
Sounds great! Do you bake the mac and cheese before freezing it?
Bravo, Wendy! We’re always on the hunt for a great mac and cheese recipe, and I really like the egg and garlic additions in this one. I’m also grateful for the double batch approach….great idea for our large family gatherings.
I’m so glad you like it! 🙂 I’m thankful to Kirsten for sharing it with us!
Thanks for your help, Wendy. I found the caption under the picture after the fact. Had it in the oven by then, it was still jammin’, even without the egg. Plan on making it again soon. Will get it right this time. BTW – they must have liked it, there wasn’t any left.
Thanks for your help, Wendy. I found the caption under the picture after the fact. Had it in the oven by then, it was still jammin’, even without the egg. Plan on making it again soon. Will get it right this time. BTW – they must have liked it, there wasn’t any left.
Cooking this recipe for the first time today for Christmas get together. I have one problem – I don’t see anything in the recipe regarding the beaten eggs. I have read over it 5 times. Am I missing something? Please help!
Belinda, it looks like the eggs go in somewhere around step 3 or 4 of the recipe (after you make the roux). I looked at the photos and narrative info about the recipe at the top instead of at the actual recipe at the bottom of the post to see when to add them. I’ll ask Kirsten to take a look and add in the info about the eggs in the recipe itself. Thank you for mentioning this so we can correct it! 🙂 I hope yours turned out well in spite of the mix up!
It hasn’t been corrected yet. So what do you do with the eggs? Temper them with roux then add back to the roux followed by the milk?
Hi Susan,
Yes, you are correct. You do temper the eggs with the roux, add it back to the roux, and then add the milk.
I apologize that the recipe wasn’t corrected! I just updated it myself, so you may print it now with all of the steps using all of the ingredients.
Thanks for letting me know that it hadn’t been corrected! I should have followed up to make sure that was done.
Blessings,
Wendy
I only made half of the recipe “just in case” it wasn’t good. LOL. It was DELICIOUS!! Even my youngest who claims he doesn’t like mac & cheese said “for some reason this is good” . hahaha. From now on I double the recipe!! Thanks so much!!!
We’re so glad your family liked this recipe! I guess I’m going to have to make it again soon because, after reading your comment, I now want some really yummy mac and cheese too!
This looks amazing!!!!!!!
Why thank you, Amy! I do hope that you try it.
This looks amazing!!!!!!!
Why thank you, Amy! I do hope that you try it.
What a delicious recipe! You are NOT the only one who ‘enjoys’ cereal for dinner and a go-to container of mac/cheese will save me on those nights!
Hooray! There’s certainly nothing wrong with cereal for dinner every so often, but that stuff gets expensive in a hurry. It’s nice to have an equally easy option for real food. 😉