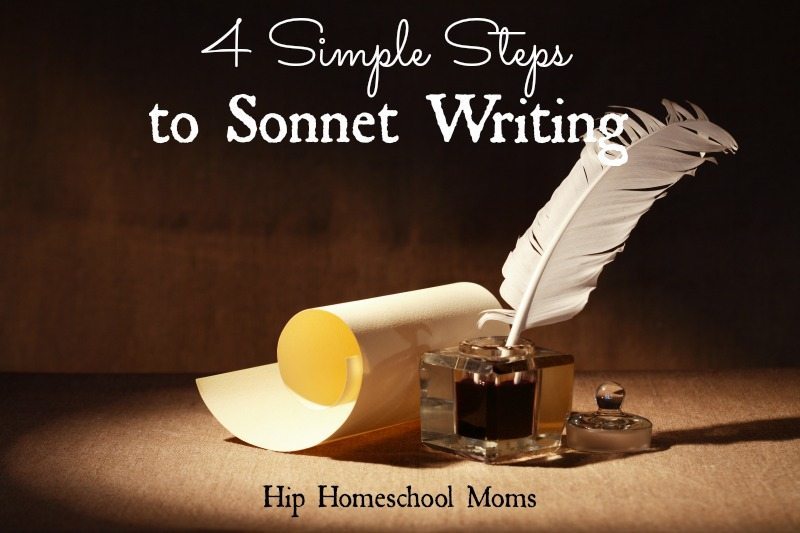
4 Simple Steps to Sonnet Writing

NOTE: National Poetry Month is April, but we’re publishing this post a week ahead of time so you’ll have time to plan ahead. We hope you enjoy it and find it useful!
Happy April! Spring is in the air, and National Poetry Month has arrived! Have you made poetry a part of your lesson plans yet this month? There are so many interesting forms of poetry to consider: there is the elegant simplicity of the haiku, the humor of the limerick, and, of course, there is the classic sonnet. The sonnet is the style of poem which was favored by Keats, Browning, and most famously, Shakespeare. Writing sonnets can be extremely fun and satisfying, yet this form of poetry can also be a little overwhelming to learn (and teach) due to the many factors one must keep in mind at once: syllable count, iambic pentameter, structure, content, and the rhyme scheme…all in 14 well-penned lines. The whole process can seem a little like a mastering the Rubik’s Cube.
A couple of years ago, I was working with a group of children (between the ages of 8 and 11) on poetry. I had already shared some of Shakespeare’s sonnets with them, and I was trying to think of the easiest way to help them understand the form of a sonnet. Out of that resulted what I dubbed the “Nonsense Sonnet.” In just 4 steps, The Nonsense Sonnet gives students, even younger ones, the opportunity to understand something about mechanics of sonnet-writing without it being overwhelming. It also gives them an end result…a poem that they can feel proud of! Here are 4 simple steps to teach and create the Nonsense Sonnet with your students!
Step 1: Don’t Stress the Content
Initially, the hardest thing for most students to master with the sonnet is going to be learning about the form, so taking some pressure off in terms of content can help a lot! In fact, that’s how the kind of sonnet I am suggesting you start out with got dubbed a “Nonsense Sonnet;” it doesn’t really have to make much sense! Instead, try having students pick a feeling or theme and do some free association to create a poem that evokes a mood without being stressful to come up with. You will see what this looks like later on. The most important thing is to help your students feel relaxed and excited to tackle their first sonnet, not overwhelmed and stressed!
Another way you can take the pressure off is by not worrying about iambic pentameter at first (unless your students are older and/or are already comfortable with iambic pentameter). Reminder: iambic pentameter consists of five syllable pairs, with each pair falling into the unstressed/stressed pattern (rhythmically, it sounds like baBUM/baBUM/baBum/baBUM/baBUM). If your student is not quite comfortable with iambic pentameter, try getting her just to stick to 10 syllables per line for the first sonnet attempt. The following example does not account for iambic pentameter.
Step 2: Zero in on the Rhyming (End) Words
The rhyme scheme for a sonnet is three quatrains and ends in a rhyming couplet. The pattern ababcdcdefefgg can be helpful in remembering how the end words of certain lines are supposed to rhyme. When working with students on their first nonsense sonnet, have them begin by brainstorming some rhyming words. Ask them to come up with several pairs and to be creative!
Unless they are very young, challenge them to not go for the obvious choices like “cat, hat” or “sad, mad.” Also challenge them not to use the same word or rhyme more than once. Added bonus: see if your children can pick words that say something about themselves or follow the feeling or theme that you discussed in step 1. Once several rhyme pairs have been brainstormed, ask your children to pick their seven favorite pairs and plug them into the ababcdcdefefgg formula.
For example, using the theme of “memory,” here are some words I brainstormed.
A Web
B Stars
A Ebb
B Guitars
C Ocean
D Rain
C Emotion
D Brain
E Palm
F Clock
E Calm
F Lock
G Whispering
G Stirring
Step 3: Let Your Imagination Play
Now that your child has chosen which words will end each of his or her 14 lines, it’s time to fill in the blanks! A fun way to plan for this is by syllable count. So 10 syllables minus the number of syllables in the last word equals syllables remaining to be filled (you are also getting some math in).
Now it’s time to brainstorm or free associate.
Have your child close her eyes and think about the theme or feeling that she wants to write about. Then set a timer for 10 minutes and have her write as many words down as pop into her mind while thinking about the theme. It does not have to make sense! Assuming the student is taking this seriously, the result will be cool, I promise. In teaching creative writing, I always had my students keep a notebook where they already had sections for different themes so that they could jot down new words that they liked for those categories at any given time.
When the time is up, ask her to sort her words into” syllable columns” organizing her favorite theme words into the appropriate syllable count column.
Example of Syllable Columns
| Dig | Silver | skittering |
| Deep | gleaming | strawberry |
| tea | dusty | melody |
Step 4: Build 10-Syllable Lines
Using a little math and lot of creativity, select your brainstormed words according to syllable count and plug them in, remembering to end each line with your pre-selected rhyming words. Double check. Does each line have 10 syllables? Is the rhyme scheme there? Now step back and read it for effect! Here’s my example of a Nonsense Sonnet on the theme of memory.
Silver moonflake: a wispy, dream-lined web
Gleaming, golden pointy creatures , my stars
Lively scarlett memory waves do ebb
Lonely gliding down the slope of guitars
Dig deep in the ground: a teardrop ocean
On the window, tea is poured like rain
Wolfy poem of hot teapot emotion
Pounding thoroughly against my burned brain
Tinged light weavers design on your soft palm
To the dancing rhythm of an old clock
Skittering piano dusty grey calm
Champagne strawberry unkeyed shiny lock
Smoky hills and gold forests whispering
Melody of long-stored keepings stirring
As you can see, the end result is kind of an abstract poem within the form parameters of a sonnet. It’s a great first step for students who are learning more about poetry, and it really makes them feel like a poet! I know that my students were always excited about their end results.
This exercise may also help students appreciate all the thought that goes into the whole process. After you’ve done some sonnet writing together, try reading some of Shakespeare’s sonnets with your student aloud, noting the carefully chosen meanings and the beat of iambic pentameter. It will be even more impressive now that they’ve written their own simplified versions!
Here’s hoping that these 4 simple steps to sonnet writing are fun and useful for you during National Poetry Month!