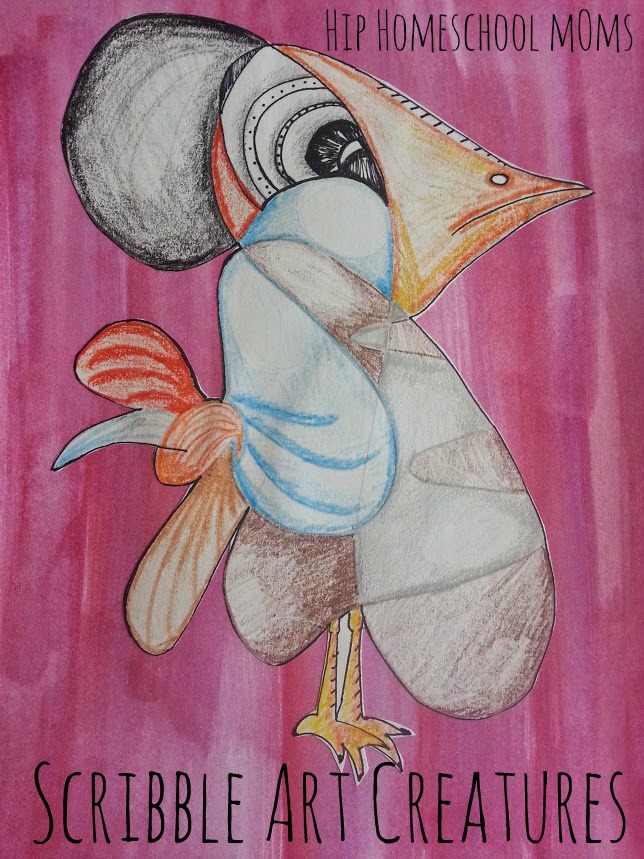
Create something out of nothing with scribble art. There is nothing more fun than making art from a scribble. The thing I like most about these funny little mixed up scribble creatures is that they are whimsical and clearly imaginary.
One thing I feel that’s missing for many children today is a sense of imagination. Creativity is something to be fostered and appreciated. I hope you won’t be too busy to see if you and your child can create your own scribble art!
This lesson can be done with any age, but be reasonable about how the outcome is and focus on process! It takes time to develop skill for creating lifelike features and contour shading. With elementary aged children focus on shape and color with just a touch of shading; with middle school and high school work specifically on shading and creating features.
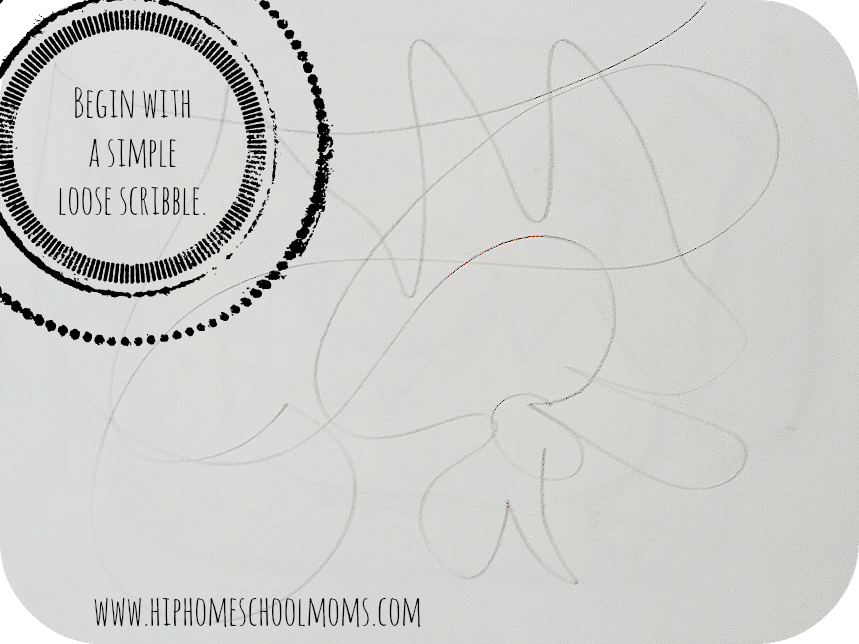
Begin with making a simple loose scribble. It’s okay for you to be slightly purposeful in your attempt. But usually your scribble creature will come out much diferently than you first think anyway. So go ahead and give it a try! The fun thing about this project is that if offers surprises and happy accidents for your artwork. Sometimes art takes on a “life of it’s own”. And that’s perfectly okay. What you do with it is where your skill comes in.
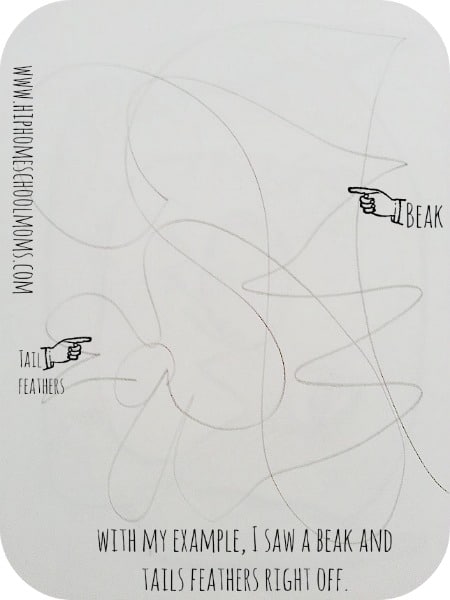
Next, turn your scribble every which way till you see something in it; an eye, a funny nose, or a tuft of hair. Any feature will do and you and your child will bring out the feature that you see when you begin working. This is where you begin to make this nothing into a something! It’s a lot like inkblot art or seeing images in the clouds. When something doesn’t make sense our minds fill in the image with something recognizable. In the same way, we take a scribble and see a creature.
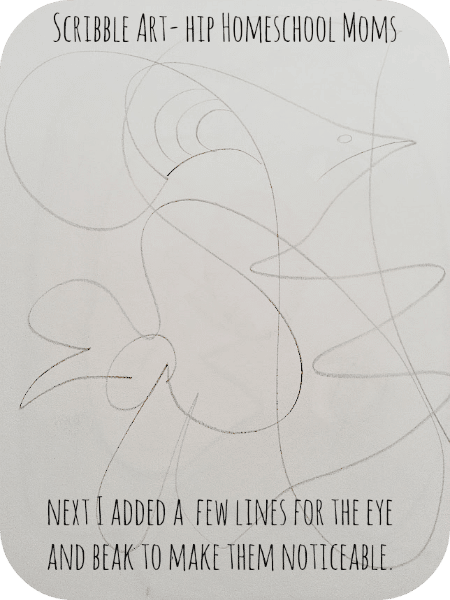
Once I found the image I would create, I added just a few lines to make the image noticeable-just to “bring it to life” a bit.
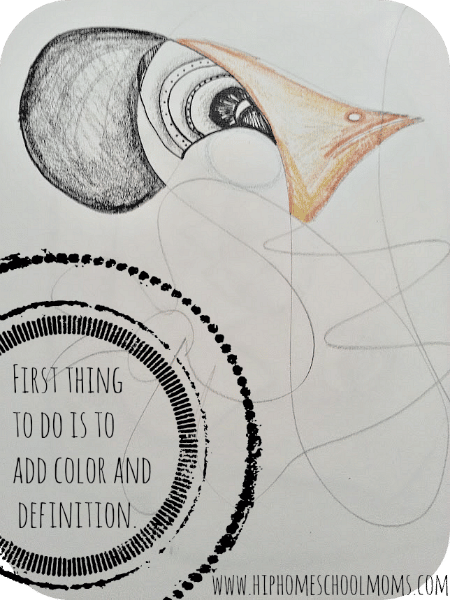
Add color and definition. Start with what you could first see. Notice the circle below the eye in the picture below. This is a good example of adding shape for shading where the scribble lines already exist. You can choose to ignore some lines and accentuate others. These funny creatures are a figment of your imagination, so it makes no difference how much sense they make.
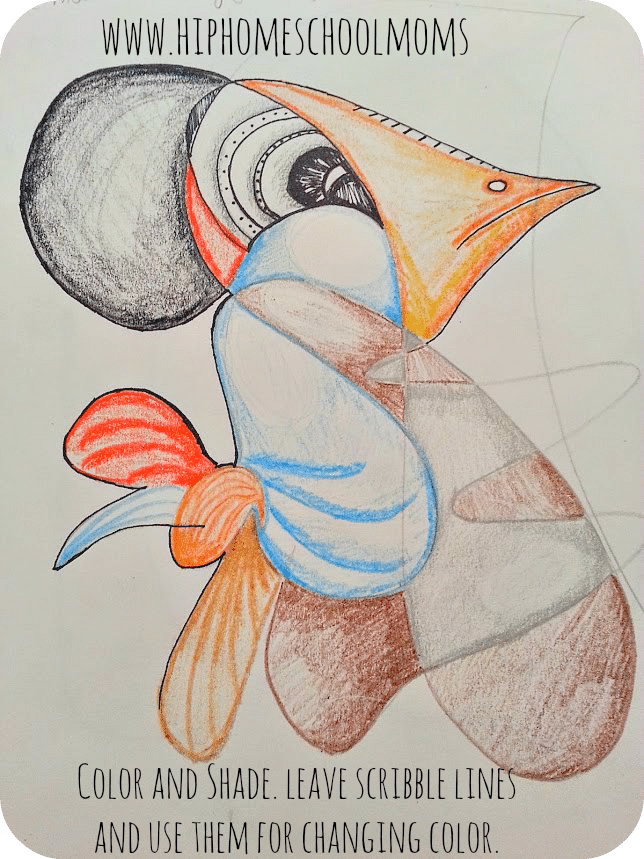
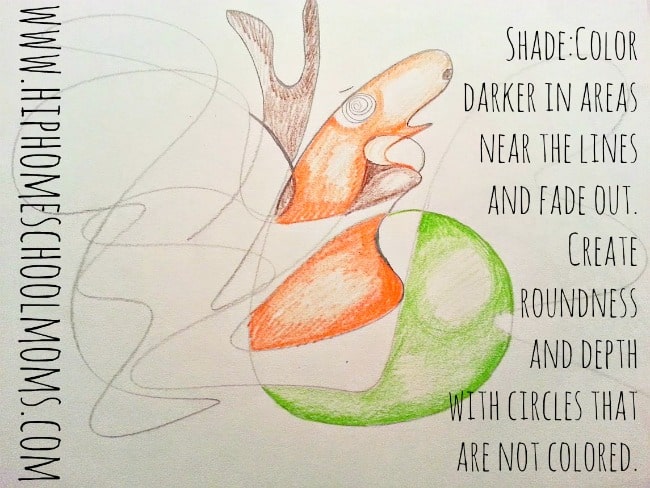
Color and shade. This is an excellent time to teach shading. Color darker in areas near the lines and fade out in center. Create roundness and depth with circles that are not colored in or only lightly colored in.
This gives the highlighted effect where the light would be reflecting off the nearest part of the object. You then shade darker into the “corners”.
Here is another example of how to begin shading these creatures:
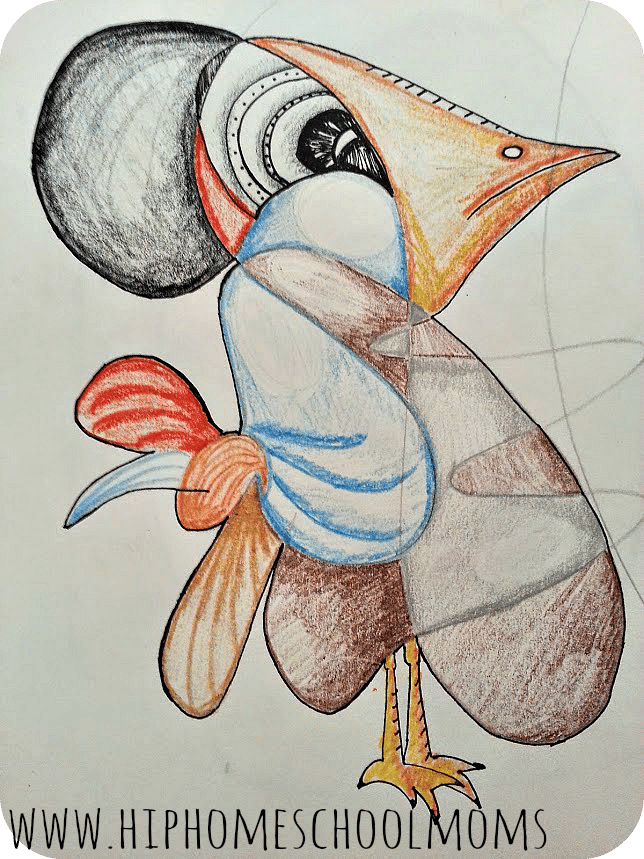
Last you will add final touches! You can add lines that aren’t there to finish your project. I added feet to my feathered creature. But try to leave all the original scribbles so that it looks like a scribble creature when it’s done! Then when the scribble is completely colored be sure to outline in pen the scribble lines you want accentuated.
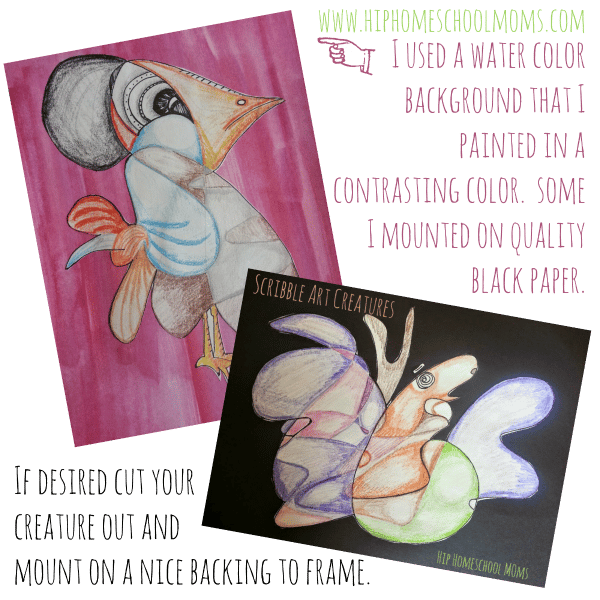
If desired cut your creature out and mount on a nice backing to frame. I used a water color background that I painted in a contrasting color. And some I mounted on quality black paper.
Art Tip*When mounting artwork I prefer to use watered down glue and a paintbrush. It’s also helpful to press between books sometimes to flatten while drying. If glue has seeped out from behind be sure to wait till it’s dry to press flat.
I’d love some suggestions for more unique ways to finish these cute scribble art creatures! How will you frame or mount the ones you and your child create? Where and how would you display them?
Stephanie was a military spouse for 20 years and is a veteran homeschooler. She developed numerous homeschool curriculum freebies and notebooking pages as well as art unit studies for local homeschool co-ops. She is currently a master gardener and is pursuing a degree in horticulture. She is also starting a non-profit organization in memory of her daughter which empowers artists with mental illnesses and supports their families.
* This post may contain affiliate links or sponsored content. * Most folks know that homeschooling families tend to read a lot! We love books of all kinds, and we usually have tons of them in our houses, cars, purses, backpacks, and pretty much anywhere else we can stash them. That’s why I’m thrilled to…
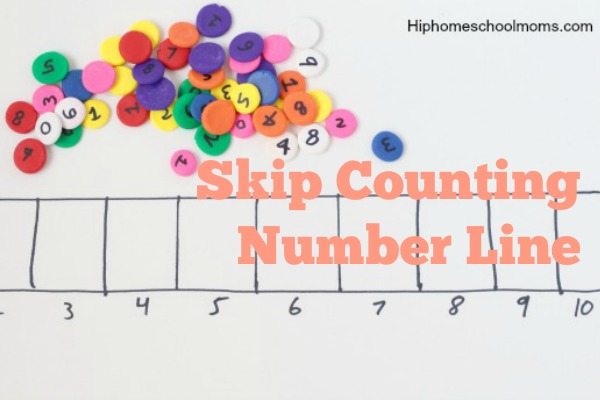
* This post may contain affiliate links or sponsored content. * My fourth-grader still struggles with her math facts. We’ve tried just about everything to help her “get it,” but nothing has worked as well for us as this super-simple hands-on skip counting bar I created on a whim. If your children struggle with multiplication…
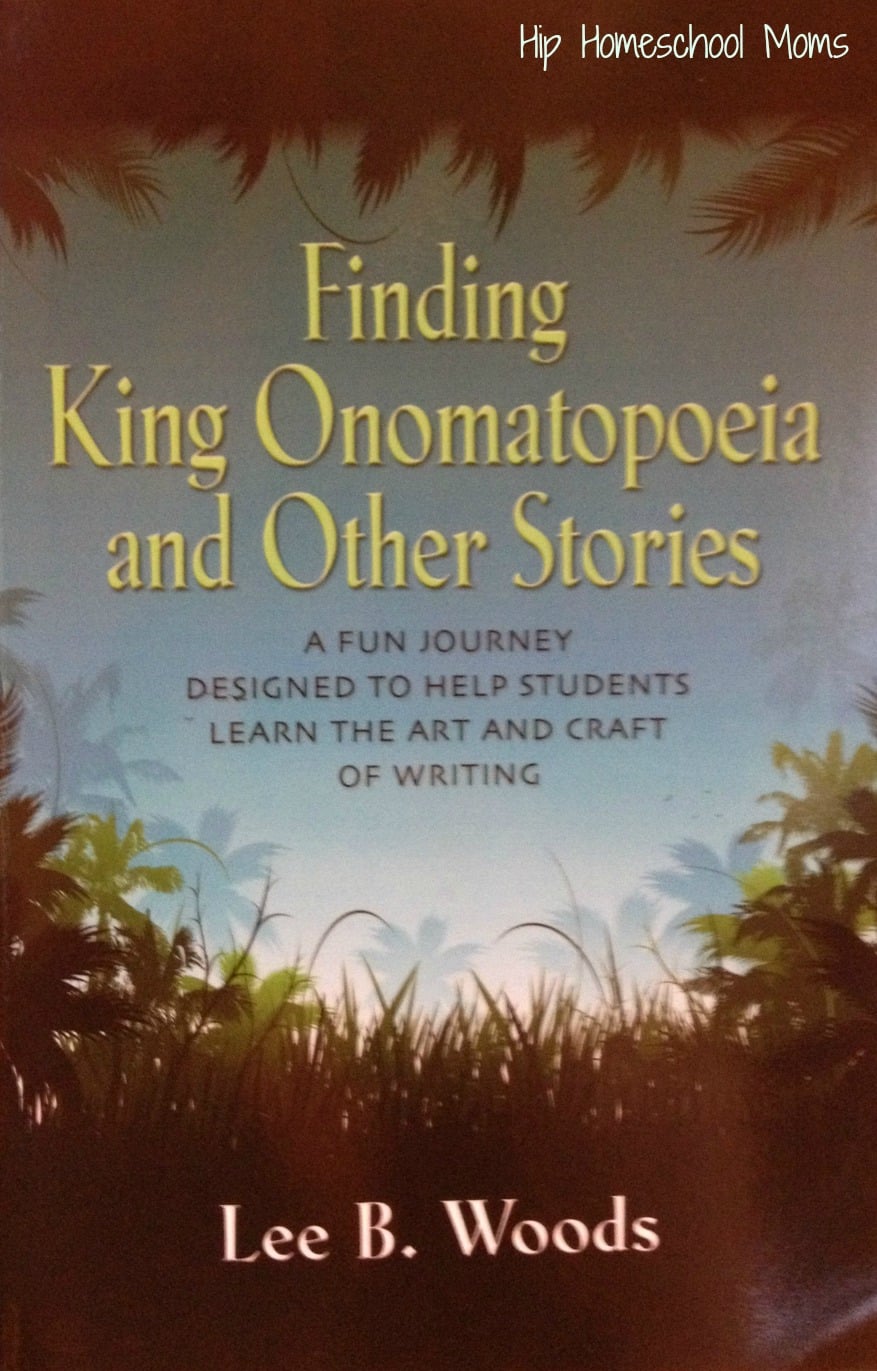
* This post may contain affiliate links or sponsored content. * I don’t think I have ever in my life read a book about English grammar that I actually enjoyed! Until now. I recently received Finding King Onomatopoeia and Other Stories: A Fun Journey Designed to Help Students Learn the Art and Craft of Writing by Lee…
* This post may contain affiliate links or sponsored content. * My son River is a self-professed tech-geek (Is that one in the same?), which I think is totally cool. Because of his interests, that means we get to do a lot of really fun (and sometimes not so fun) experiments. Tech Light Lab by Edmund…
* This post may contain affiliate links or sponsored content. * Not sure where to find good homeschool-friendly giveaways? Looking for a place to list your loot? Come check out . . . Giveaway Day! Bloggers & Giveaway Hosts: Come on in and link up those awesome giveaways homeschool moms would love to enter! Homeschool…
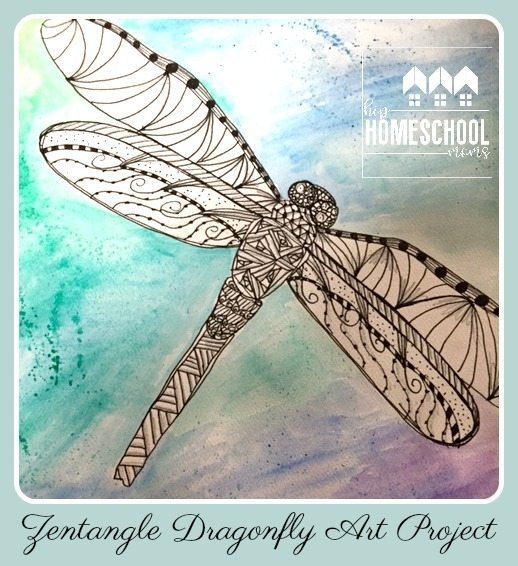
* This post may contain affiliate links or sponsored content. * Get Inspired: Zentangle Dragonfly Art Sun catchers, mosaics, or even jewelry creation would be fun projects for creating your own dragonflies. But why not stretch the imagination and create Zentangle Dragonfly Art? Before you begin, do a little research on Dragonflies for inspiration. While looking…