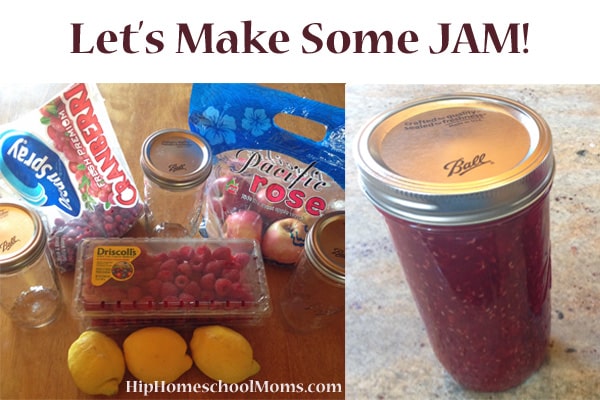
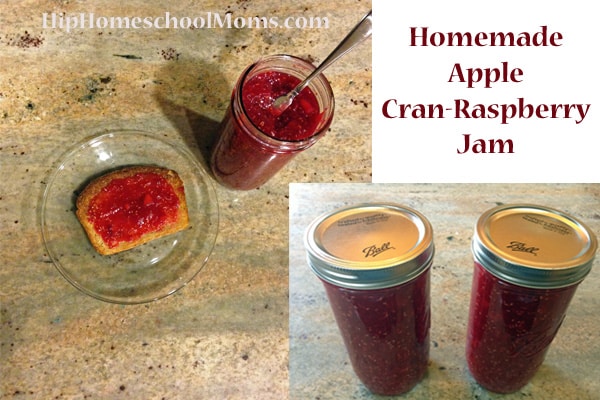
Let’s Make Some JAM!
Necessity is the mother of invention, yes?! Well I’m not much of an inventor, but I can think of at least 5 or 6 from-scratch staples that have been around my kitchen for years simply because I ran out of said item’s grocery store counterpart and couldn’t summon the motivation to change out of my yoga pants and drive to the store for more. Today I’m sharing my latest, and possibly greatest, necessity-born food stuff. Are you ready? Let’s make some JAM!
Why I have never made jam before this day is something of a mystery to me! My family loves jam, I quickly tire of the limited varieties offered at Costco (since I buy everything at Costco), and I’ve heard tales that it’s relatively easy to make. After purchasing a tiny jar (for a not tiny price) of mostly flavorless jam from our local farmer’s market, I decided it was time to try.
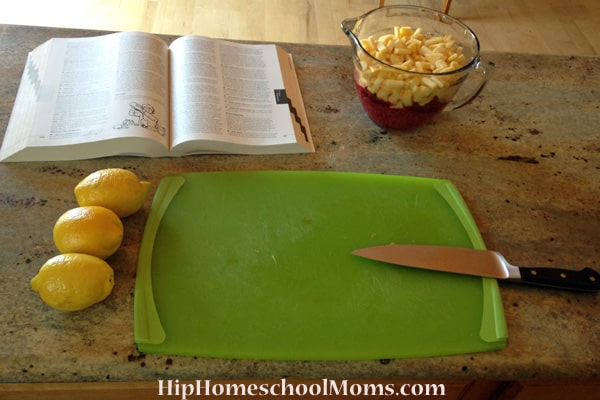
I went for an Apple Cran-Raspberry jam to use up leftover cranberries and apples I had sitting in my fridge. Add in some nice-looking fresh raspberries, lemon juice, white sugar, a stock pot, and some jars and we’re ready to go!
First, sterilize your jars, lids, and seals by placing them in a pot, covering them completely with water and setting the pot to boil. Make sure you sterilize anything that will come in contact with the jam! I’ve always heard to pour hot jam into hot jars so I left the pot to simmer on low once it reached a boil while I finished up with the jam.

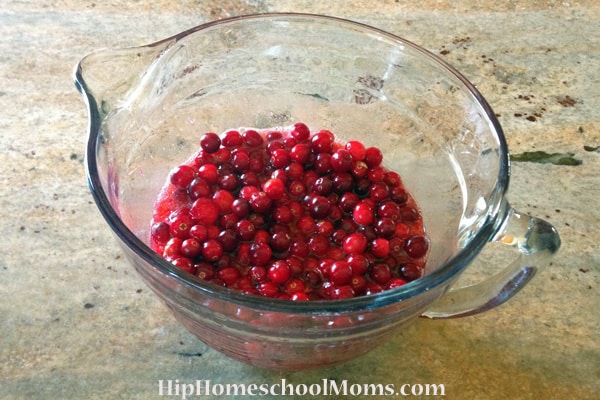
Next, I rinsed & mashed the raspberries, washed the cranberries, peeled, cored & diced the apples, and put all the fruit into my large measuring bowl to see how much I had. When all was said and done I had about 3 cups of mashed raspberries, 1 cup of whole cranberries, and 4 cups of diced sweet apples.
I had to pause here a second to research whether to add lemon juice and how much to use if so. I read one place not to add lemon juice to berry jams but somewhere else learned lemon juice can help release the natural pectin in fruit. I ultimately decided to use the juice of one lemon, about 1/4 cup.
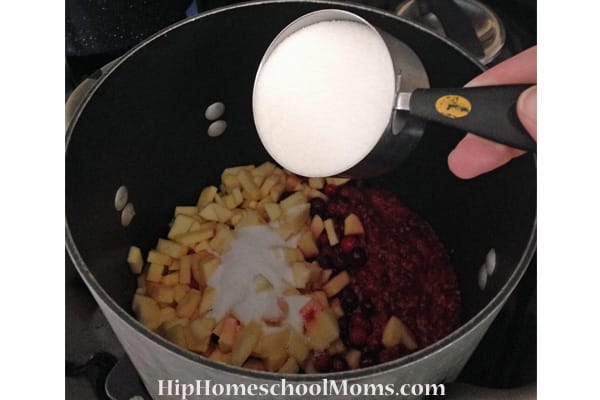
Now it’s time for sugar. I was somewhat stunned by the wildly different sugar-to-fruit ratios I’d encountered in various jam recipes. One was a full 1:1, my favorite homesteading book suggested 3/4 cup sugar for every one cup of fruit, and yet another recipe used a mere tablespoon per cup. I decided to start with a smaller amount and add more if necessary after tasting. I poured my eight cups of fruit to my stock pot and added 3 cups of white granulated sugar.
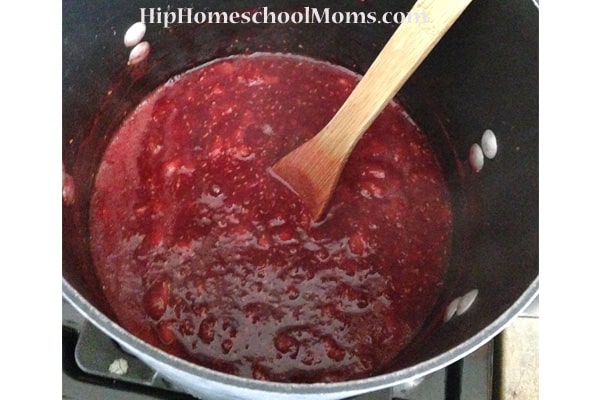
I heated the fruit over a medium-high heat, stirring frequently, bringing the fruit and sugar to a semi-hard boil. I’ve heard of people having a lot of issues with splattering jam liquid, but I found frequent stirring and a more moderate heat worked nicely for me.

I didn’t pay strict attention to the time it took for the mixture to thicken and gel, but after about 15 minutes of boiling and stirring, you will see the fruit start to look more jam-like. I didn’t like the texture the bigger chunks of apple and cranberry gave me, so at this point I pulsed the mixture a bit with my stick-blender. I didn’t want it completely smooth, so it only took a bit.
I also tasted the jam at this point, and it tasted perfect with the three cups of sugar I’d already used, so I didn’t add any more.
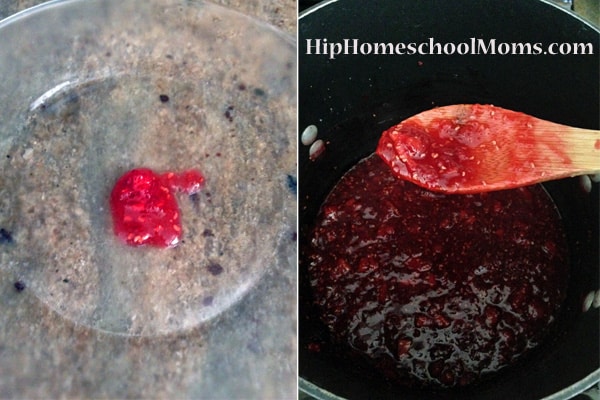
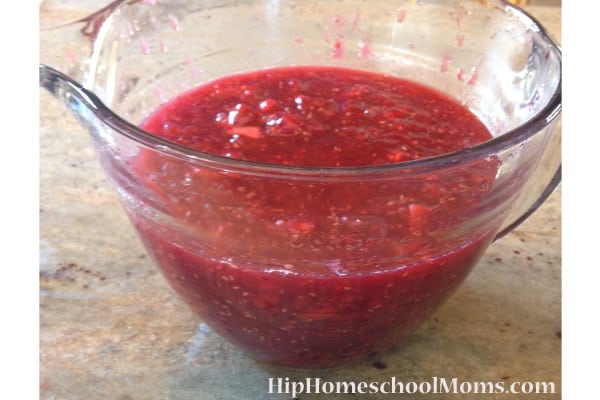
I’d heard about something called the cold-plate test and thought it would be a cool (pun-intended) way to test for jelling. I stuck a small plate in the freezer for a few minutes and dropped a bit of the jam onto the plate to check the thickness.
After a few tries, I knew my jam was ready when it looked like this…..
Since the jam was ready, I poured it back into my (cleaned and rinsed in the hottest possible water from my tap) measuring bowl to make pouring the jam into jars a little easier. I’d read that the fruit/sugar mixture should reduce by about 1/4th when done, and this was right on par with my finished jam.
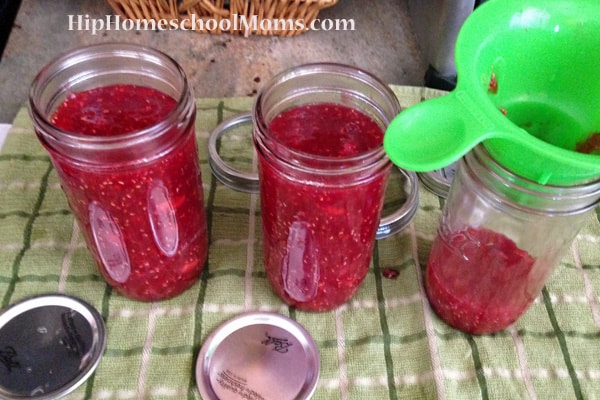
I also took the jars, lids, and rings out of the simmering water and set them to dry on a fresh, clean dish towel.
My handy little green canning funnel made simple work of filling my very favorite Pint and a Half Mason Jars![]() . I ended up with 3 whole pints of delicious jam for about an hour of my time. I put one jar right into the fridge and froze the other without processing any other way since I know we’ll use both jars quickly. You can, of course, process your jam using the water bath canning method if you make a larger batch and don’t want to store them in the freezer. I have a huge flat of strawberries sitting on my counter just waiting to be Jam Experiment #2, and I will be water-bath canning those jars to preserve them!
. I ended up with 3 whole pints of delicious jam for about an hour of my time. I put one jar right into the fridge and froze the other without processing any other way since I know we’ll use both jars quickly. You can, of course, process your jam using the water bath canning method if you make a larger batch and don’t want to store them in the freezer. I have a huge flat of strawberries sitting on my counter just waiting to be Jam Experiment #2, and I will be water-bath canning those jars to preserve them!
I must confess this little endeavor left me feeling like a bit of a homemaking rock, star and now I never have to buy jam again. 😉 I loved that I didn’t need anything that wasn’t already in my kitchen, I had complete control over the ingredients, and the result was a balanced, sweet, flavorful, spreadable and all-natural jam completely tailored to my tastes. Simple perfection!
Have you ever made your own jam? How did it turn out? Share your experiences or favorite recipes in the comments below!